In this article I will explain how to configure Terraform to automate Azure infrastructure deployments.
There are multiple ways to configure Terraform to work with Azure, I prefer following two:
- Configuring “Azure Terraform” Visual Studio Code(VSCode) extension.
- Configuring Terraform using Azure Cloud Shell.
“Azure Terraform” VSCode Extension:
Prerequisites:
Azure Subscription: If you don’t already have an Azure Subscription, create one.
Terraform: Install and configure Terraform.
Visual Studio Code: Install VSCode
Node.js: This is required to get Azure login page from VSCode. To download click here. To verify the installation, run node -v from a terminal window. It may ask you to execute node -c, you have to do it otherwise the Azure login page will not appear.
GraphViz: This is optional, used to get graphical interpretation of Terraform init, plan etc. If you need to, download and install GraphViz
Installing Azure Terraform VSCode extension
Launch Visual Studio Code and select Extensions
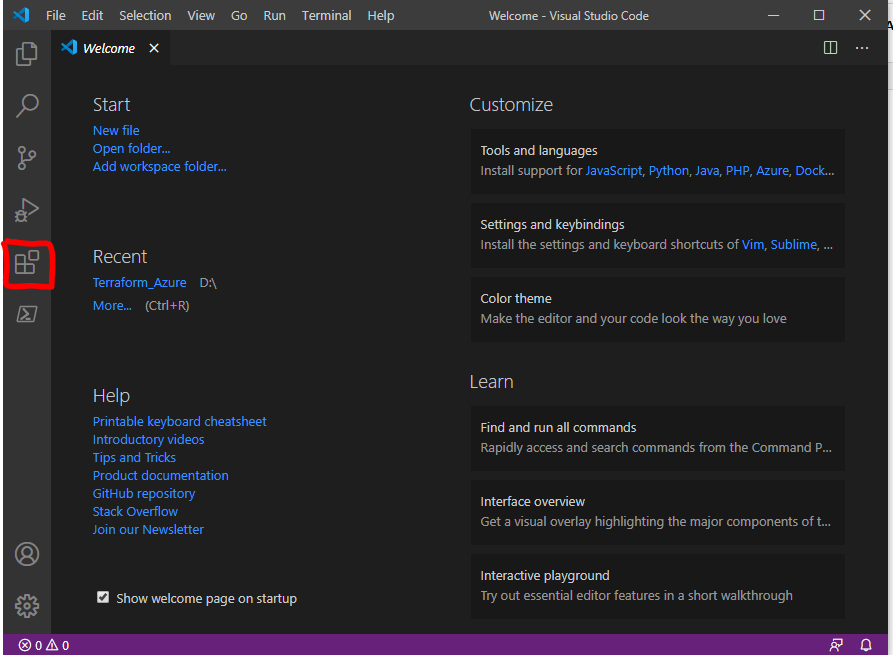
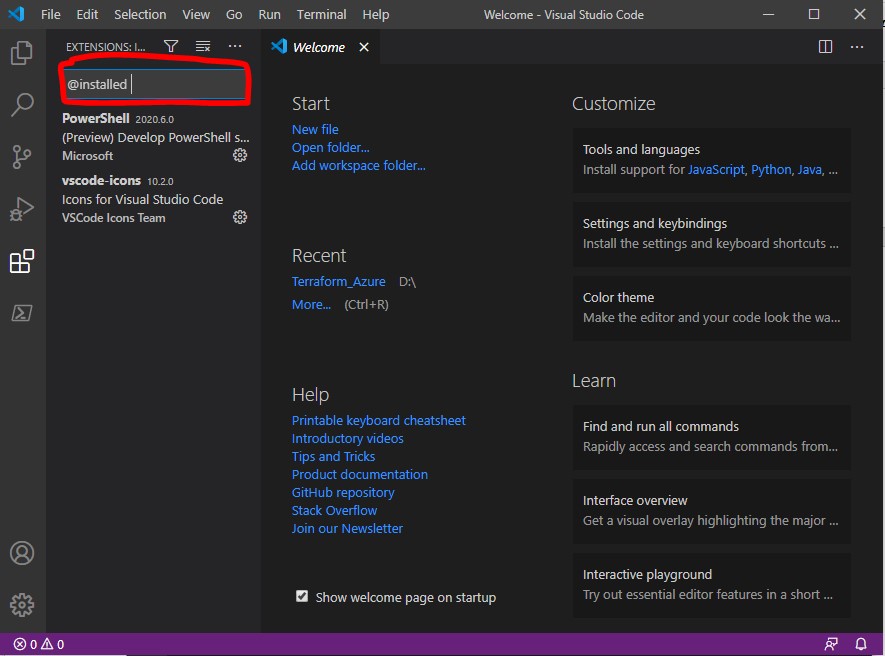
In search extension type @installed to check which extensions are already installed in you VSCode
Search Azure Terraform in extension search box
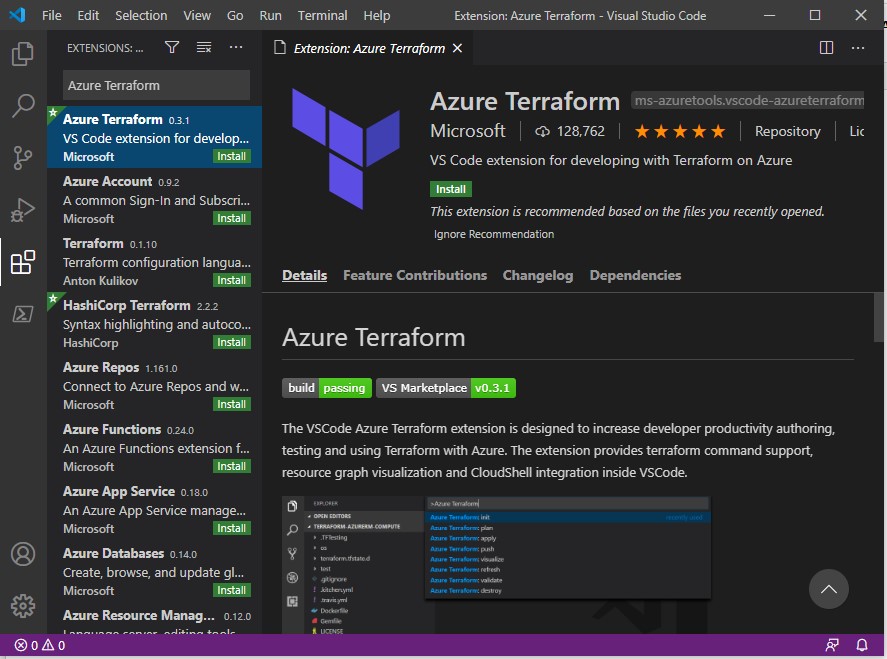
Select Install, when you install this extension, Azure Account extension will be automatically installed in your VSCode. Use @installed in the search box to get list of installed extensions
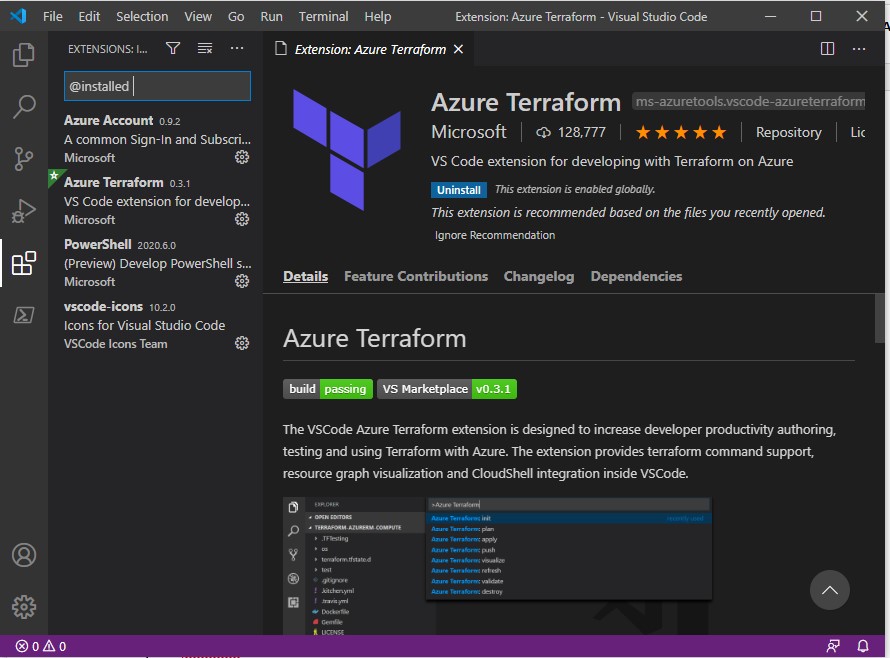
Here you will see Azure Terraform and Azure Account are installed for you to use.
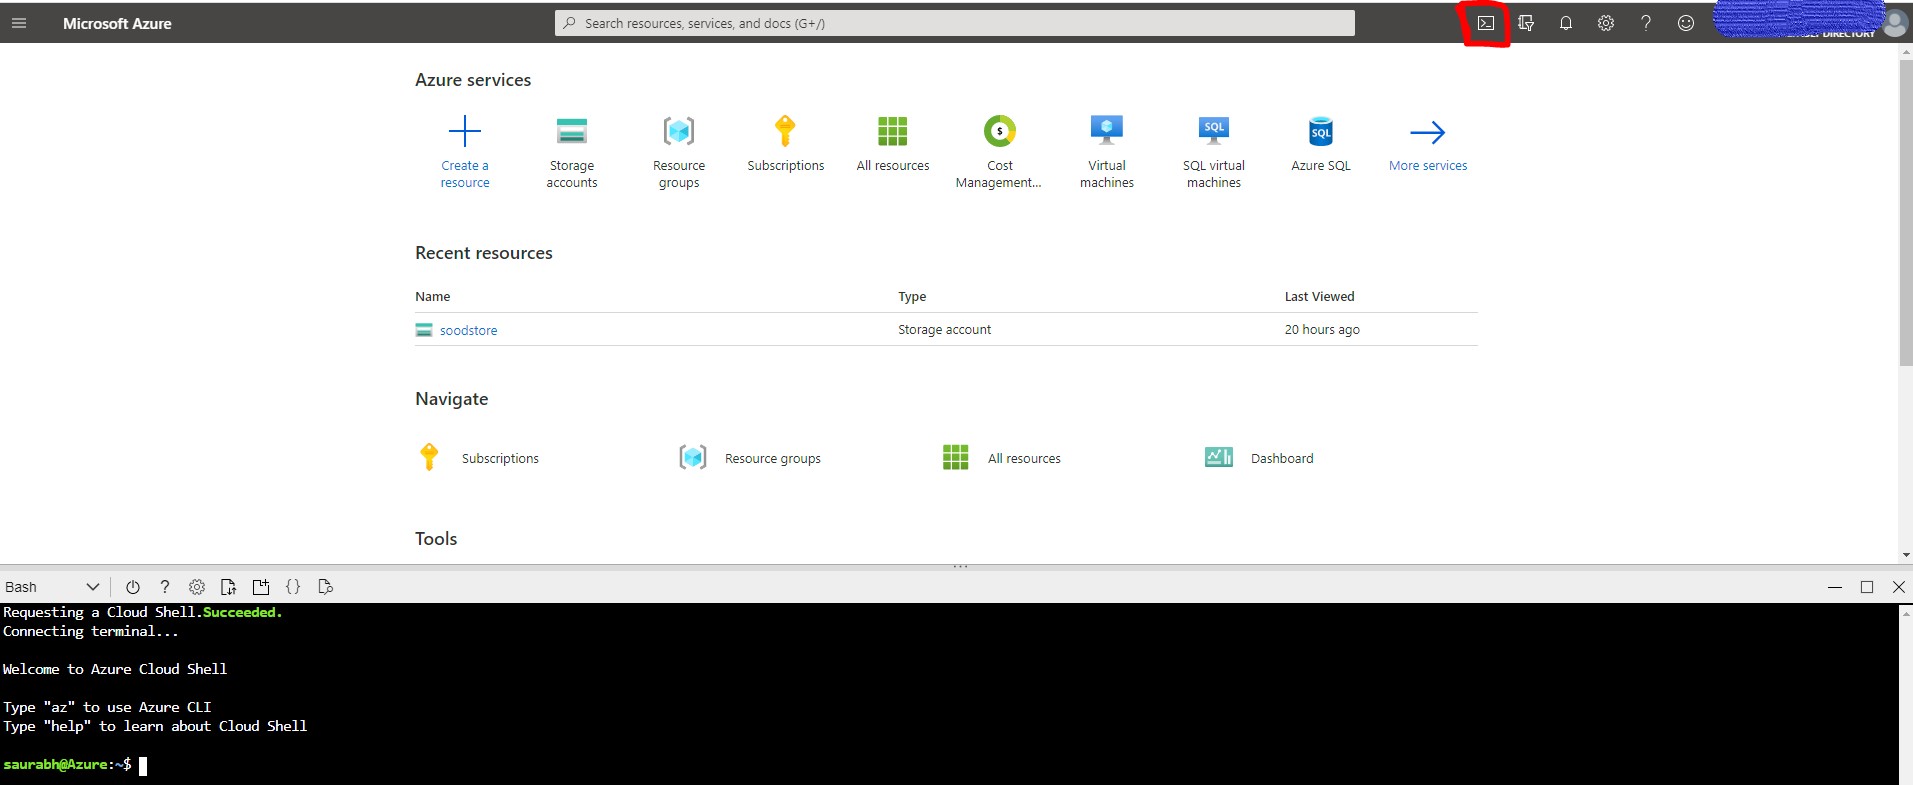
Configuring Terraform using Azure Cloud Shell
Prerequisite is only to have an Azure subscription. If you are opening Azure CLI for first time, it will ask for a mounted file share, if you don’t have it already, it will ask you to create it and will be mounted as clouddrive under you $HOME directory. Click on highlighted icon to launch Azure cloud shell.
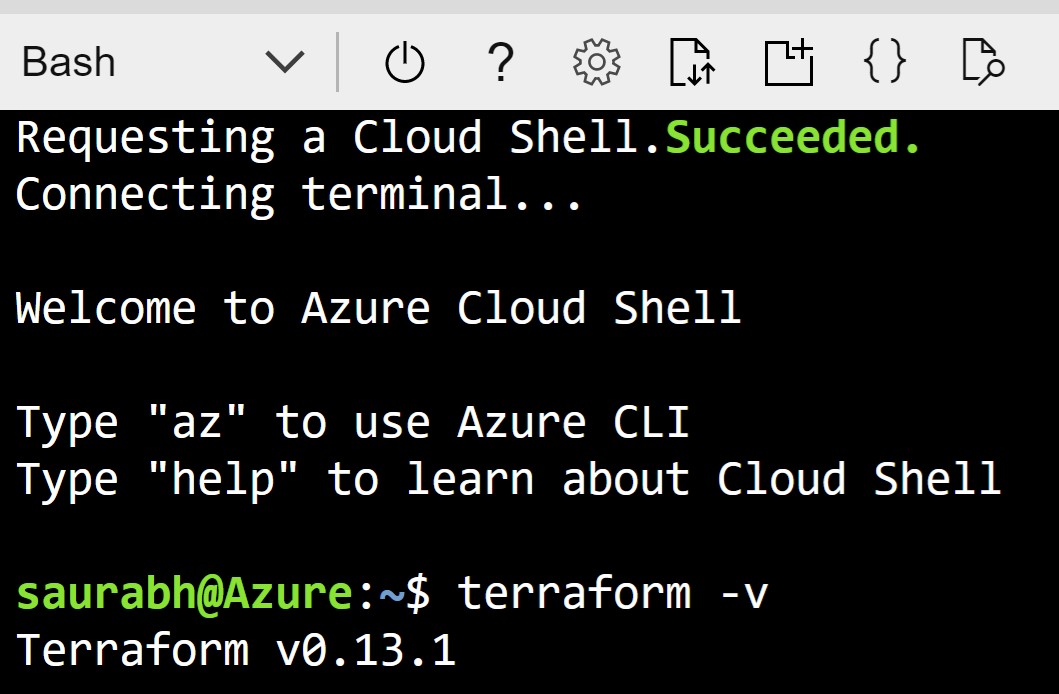
Install Terraform: Cloud Shell automatically have latest version of Terraform installed, so there are no additional installation steps required.
NOTE: Automation tools like Terraform should always have restricted permission and use azure service principal to authenticate themselves.
Now we will create a service principal for Terraform, which it will use to login to Azure subscription.
From Azure cloud shell run following command:
$ az account show (This will list your subscription-id )
$ az ad sp create-for-rbac –role=”Contributor” –scopes=”/subscriptions/<your-subscription-id>” –name=”SPterraform”
Above command will create a service principal named SPTerraform.

The randomly generated password can’t be retrieved, so make sure to save it. Now, login using this service principal:
$ az login –service-principal -u “http://SPTerraform” -p “password-shown-above” –tenant “tenenat-shown-above”
You have logged-in as a service principal to run Terraform and Azure CLI is ready to use.
This complete the basic setup to run Terraform with Azure, In my upcoming posts I demonstrate how to use this setup to write Terraform code using “Azure CLI” & “Azure Terraform” VSCode.
One thought on “Azure Infrastructure Automation With Terraform: Configuration”