
Terraform supports team-based workflows with its feature “Remote Backend”. Remote backend allows Terraform to store its State file on a shared storage
so that any team member can use Terraform to manage same infrastructure. A state file keeps track of current state of infrastructure that is getting
deployed and managed by Terraform. Read more about Terraform state here.
The remote shared storage can be:
– Azure Blob
– Amazon S3
– Terraform Cloud
In this post I will be using VSCode to:
-Login using Azure account named “terraform” (this account has only been assigned storage-contributor role)
-Use Azure service-principal configuration in Terraform
-Configure Terraform to store state-file on Azure Blob storage to create an Azure resource group
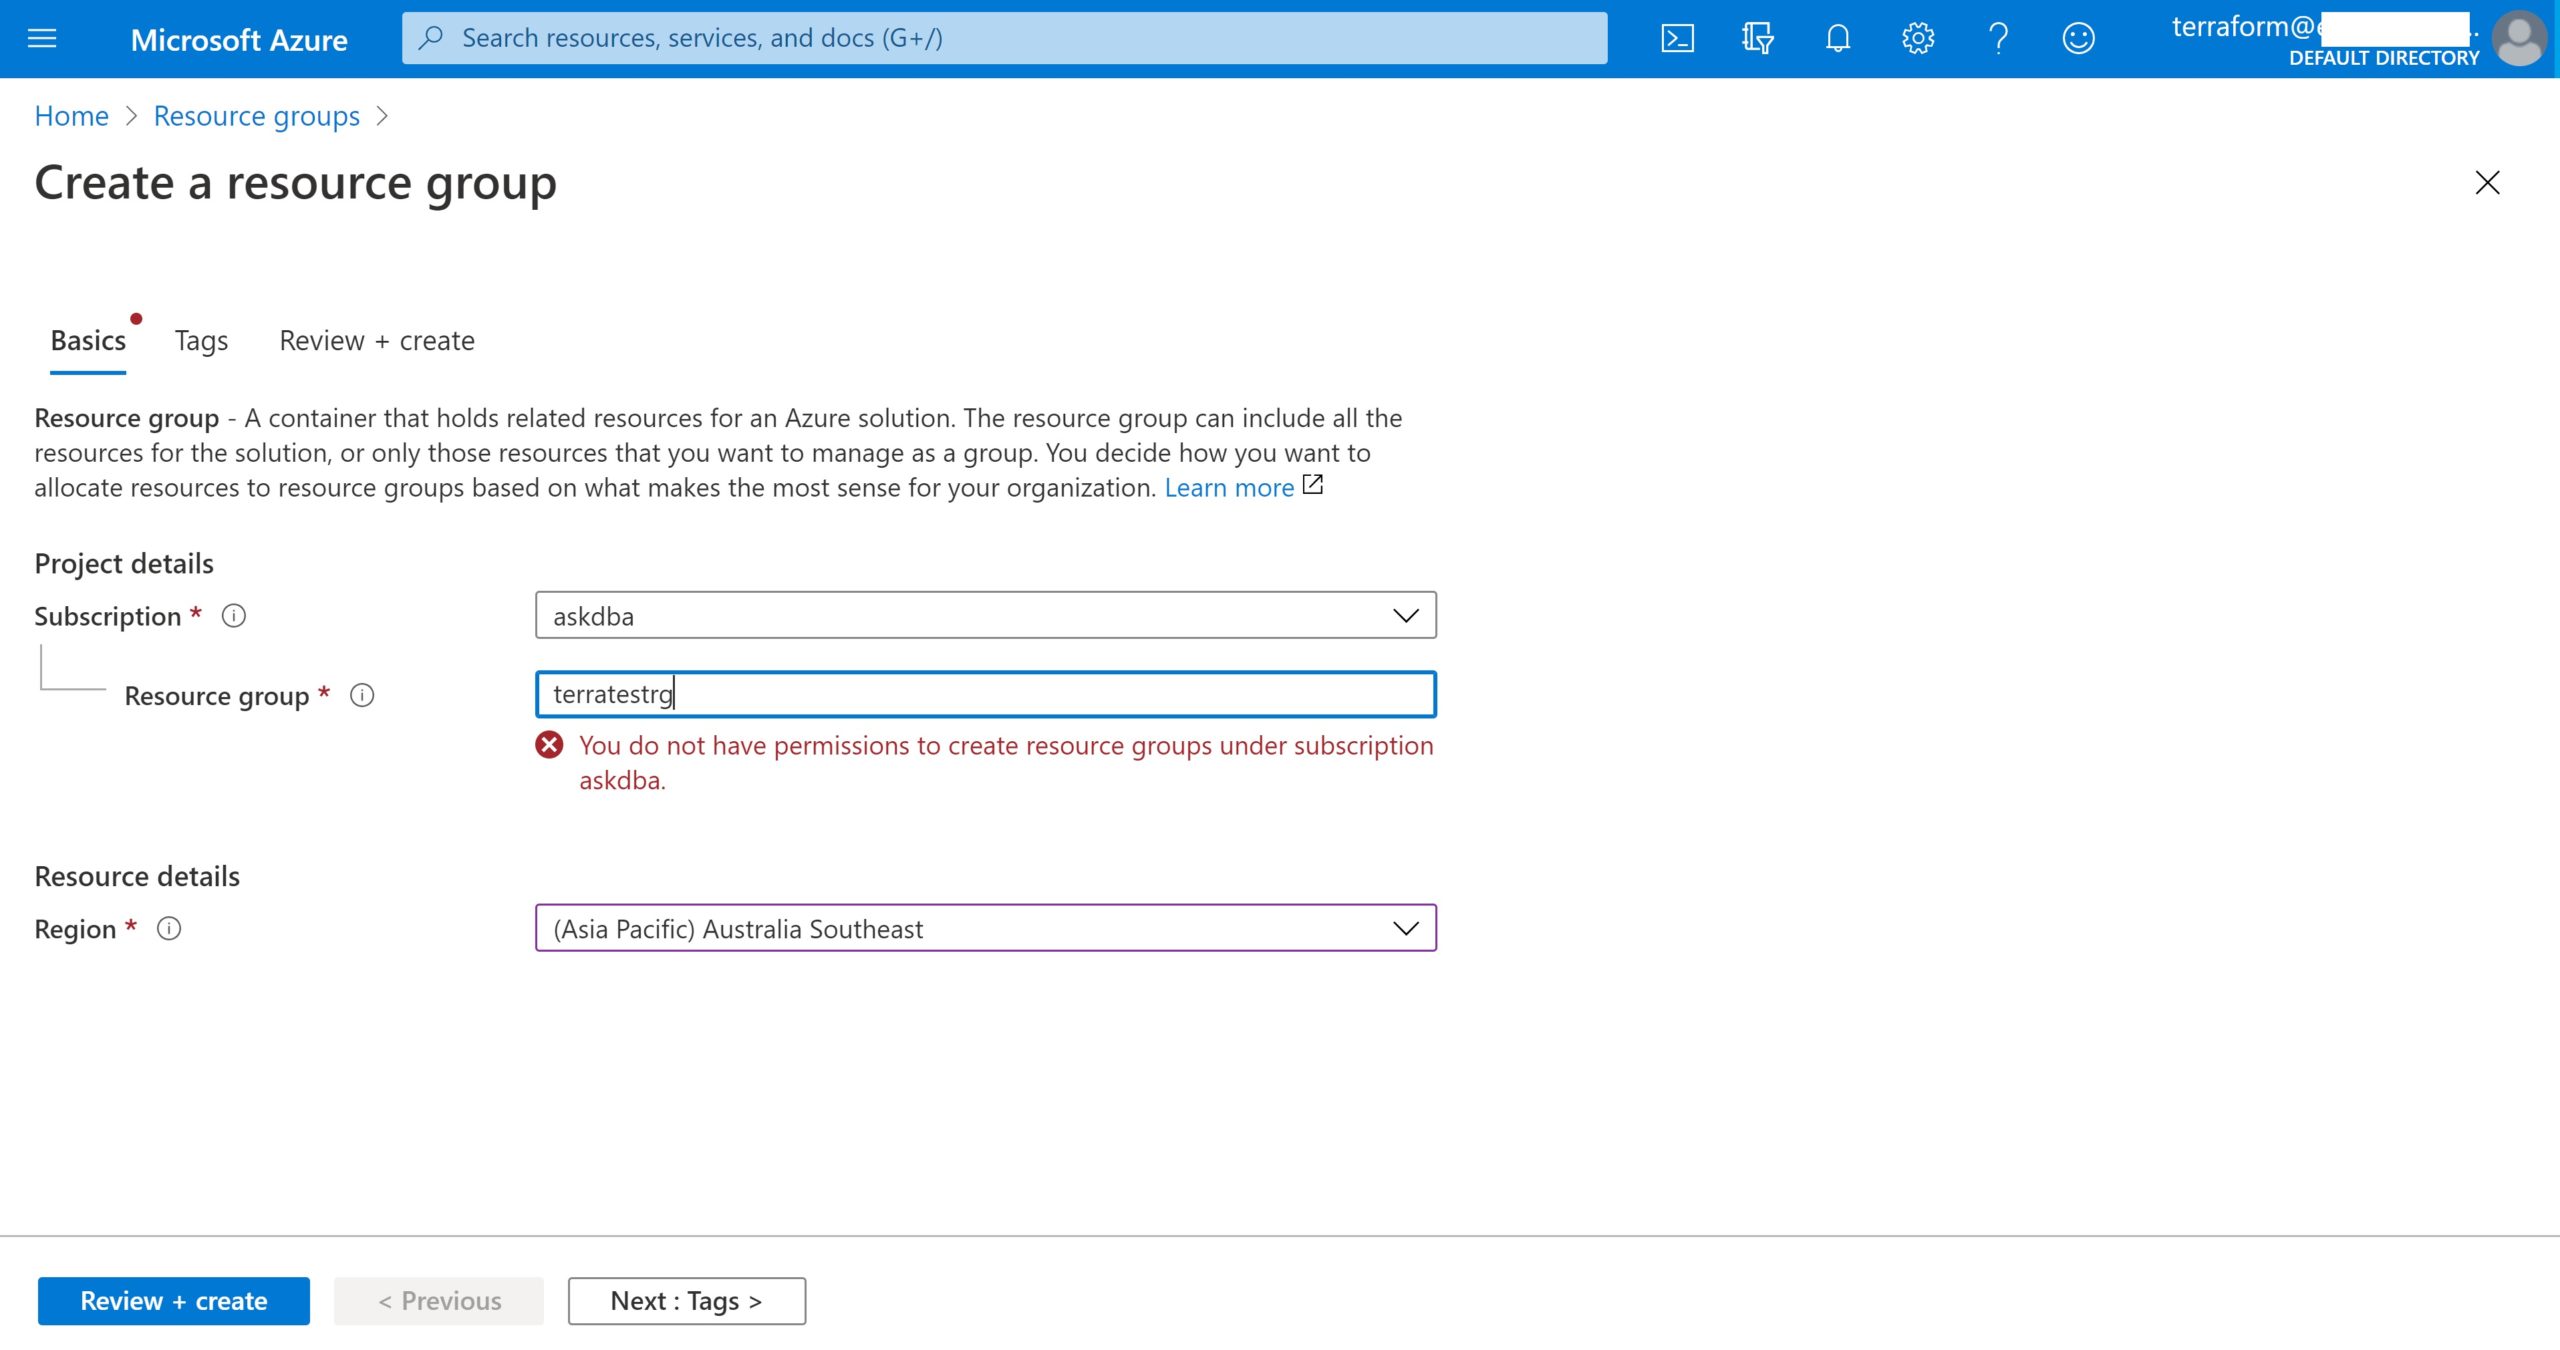
As a first step to demonstrate Azure service-principal usage, login as terraform user from azure portal and verify that this user doesn’t have privileges to create a resource group.
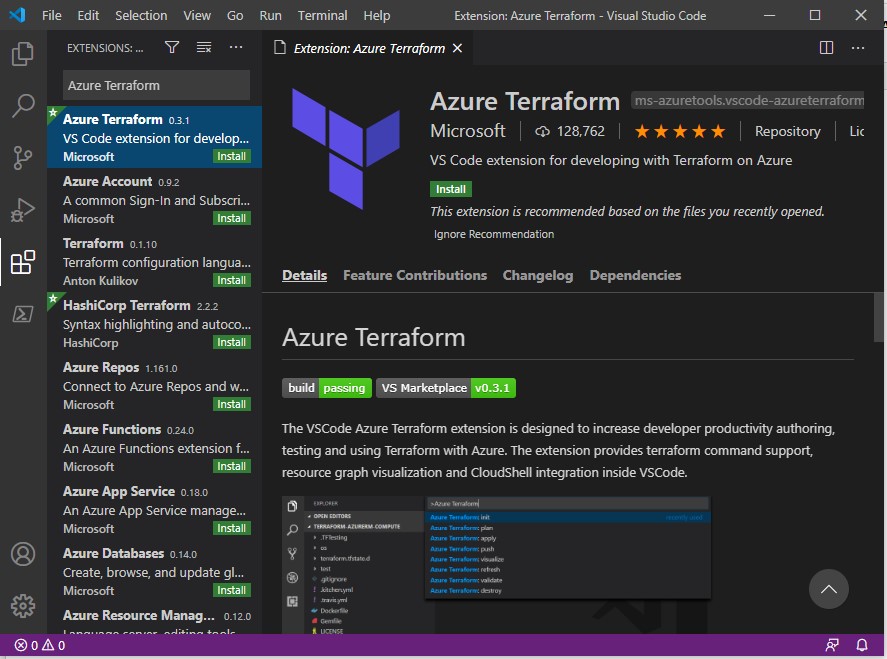
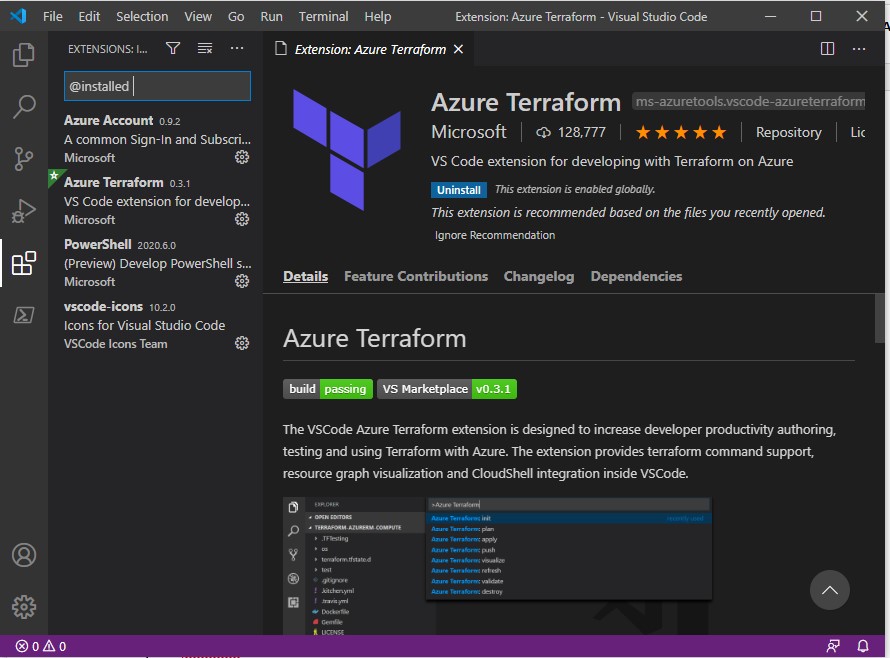
Now, to login as terraform user in Azure, open VSCode and click on View => Command Palette and type Azure: Sign Out
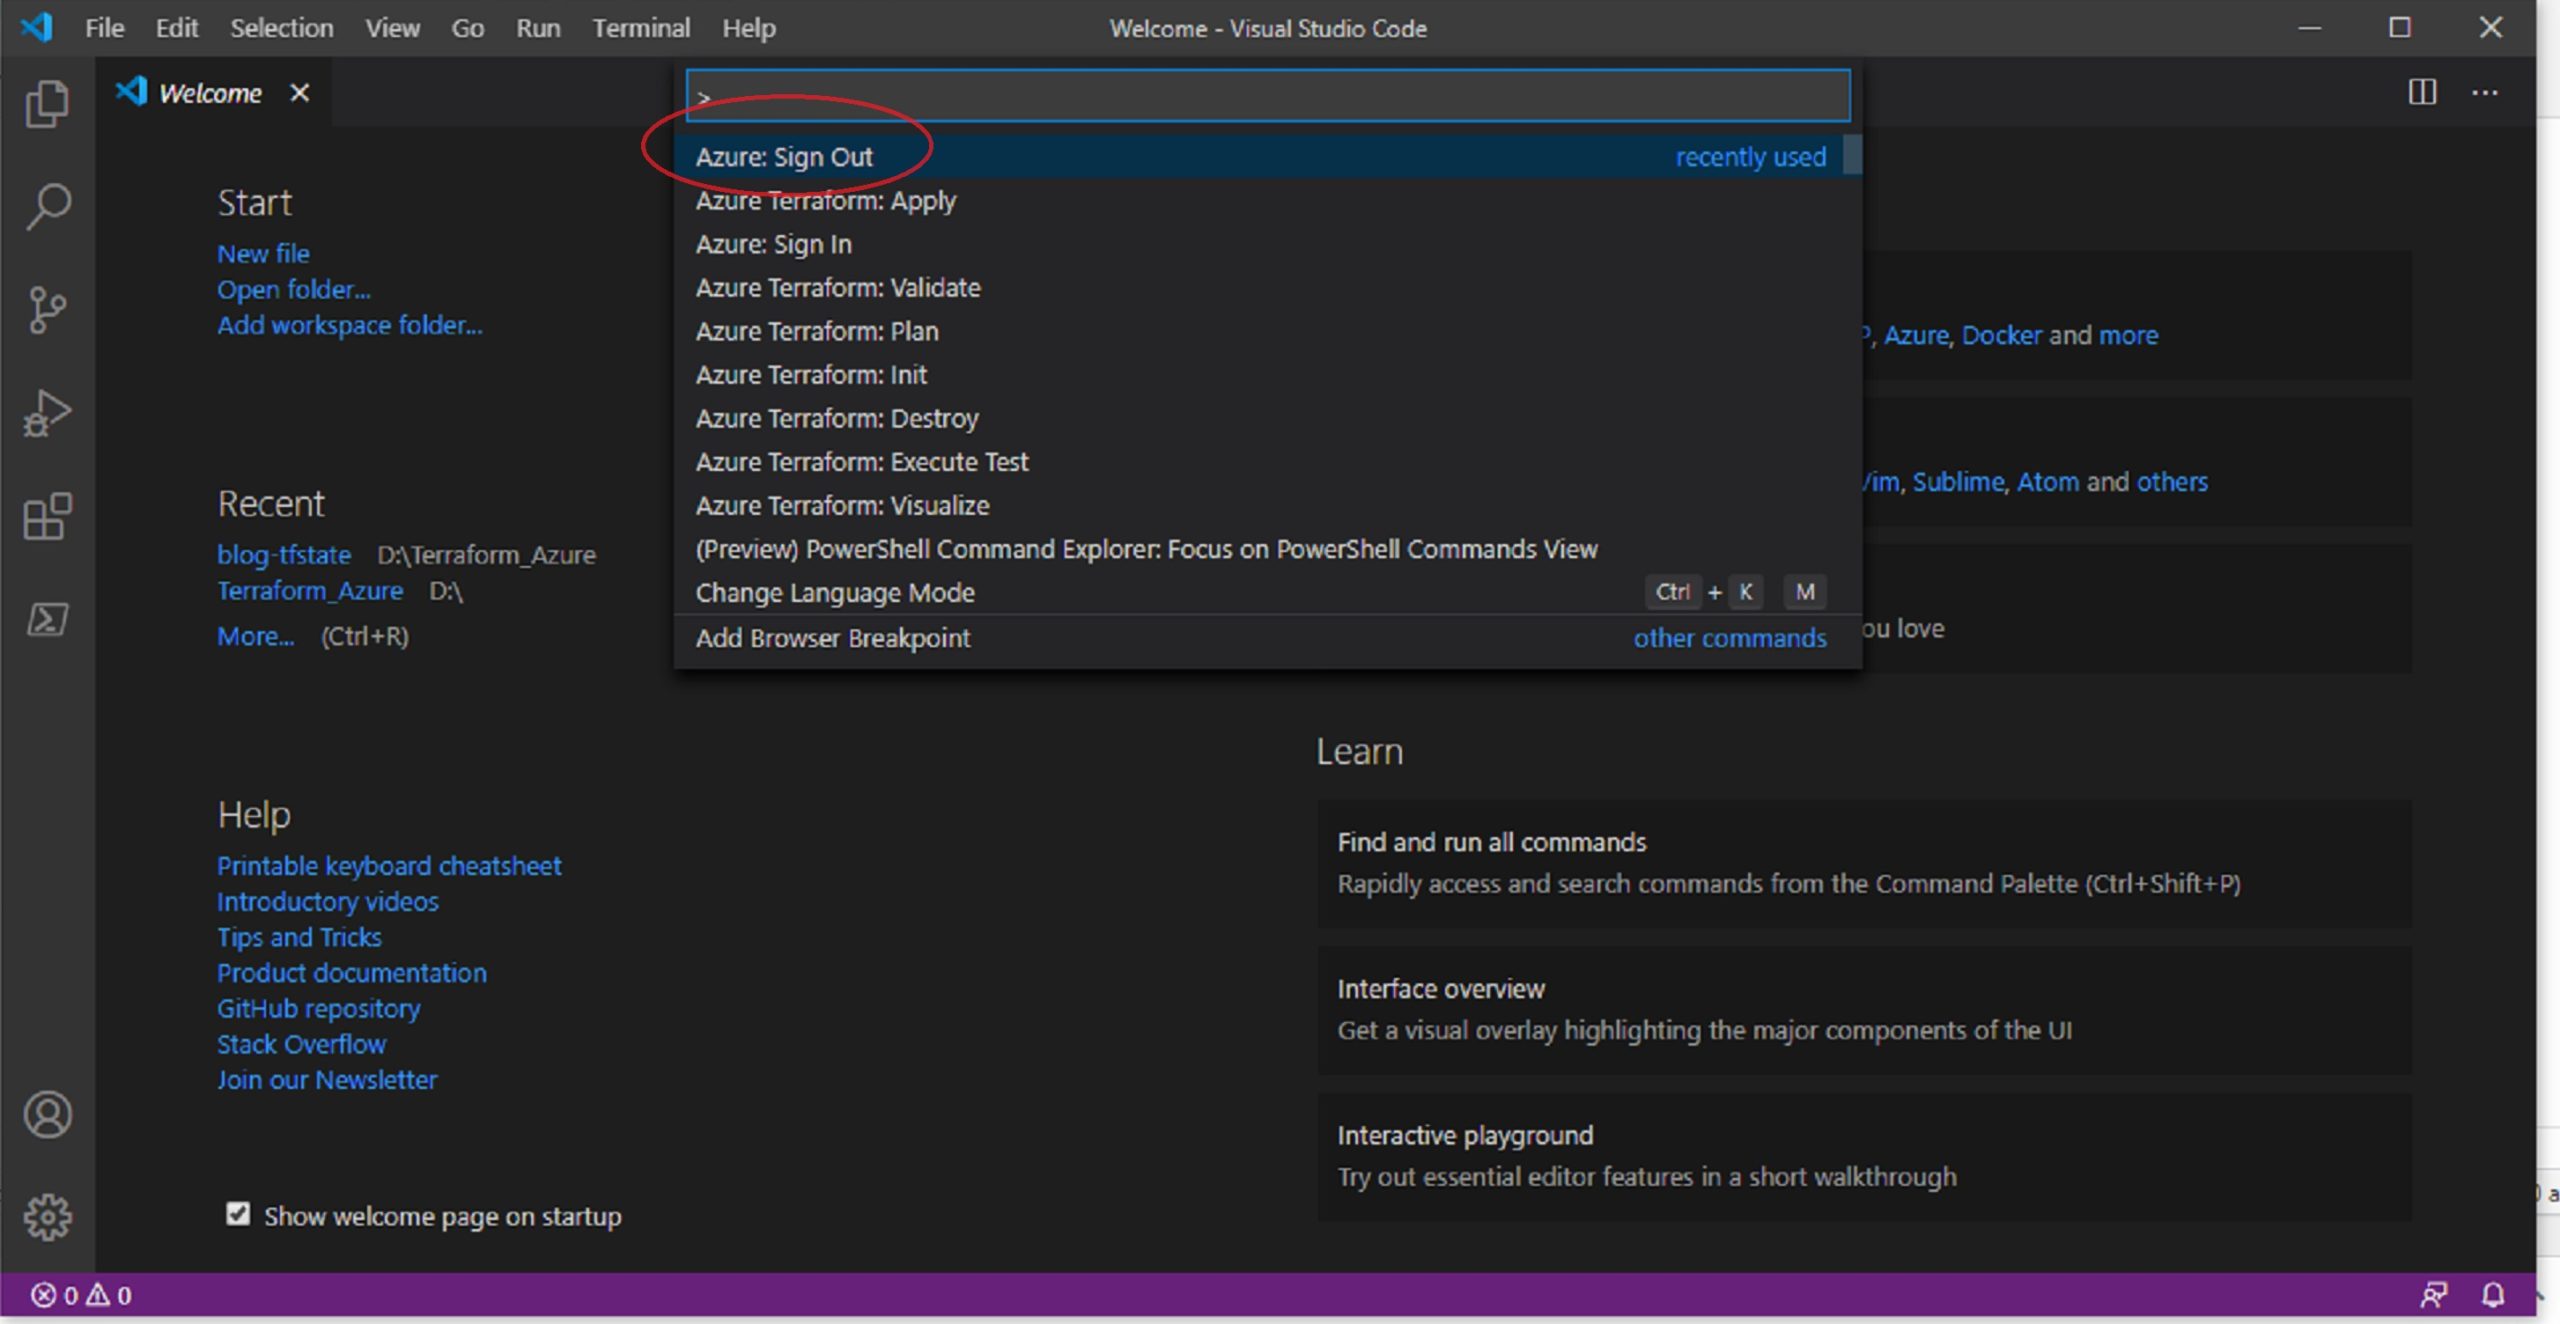
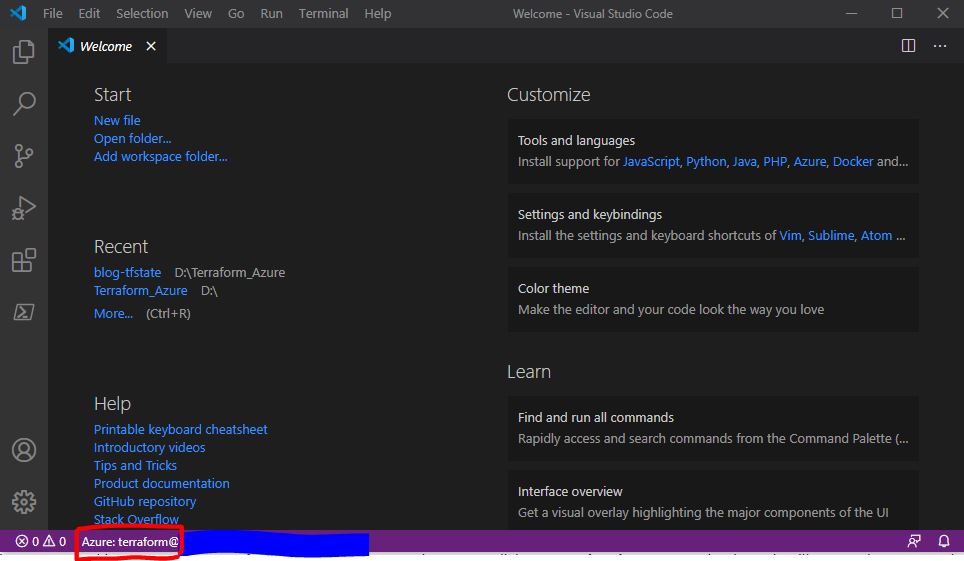
By this, you are making sure to logout of any previous Azure session. Now, click Azure: sign-in command palette, it will open a browser and ask you to sign-in, use the Azure account(terraform) created for this sign-in purpose. You will see the username at the bottom of VSCode.
We will now be configuring the already created Azure service-principal in Terraform (refer to my previous blog post). The service-principal looks like below after it is created, and it is important to note down these details for a service-principal:

These values of Azure service-principal map to the Terraform variables as below: (Click here to read more about it in Terraform document)
appId = Client-id in Terraform
password = client-secret in Terraform
tenant = tenant-id in Terraform
We will configure these login details in Terraform using variables.tf file. Defining variables can be done in a single step or by using input variable file to hold the variable names and using variable definition file (.tfvars). Terraform automatically loads variable definition files if :
– File name is exactly terraform.tfvars
– File names ending with .auto.tfvars
For more on Terraform variables refer to Terraform-Variables
Configuring Terraform files
Created a folder on your PC with name “tfstate” to hold variables.tf, main.tf and terraform.tfvars files.
variables.tf
variable “azure_app_id” {
description = “Azure App Id for Service Principal”
type = string
}
Variable “azure_password” {
description = “Azure Password for service principal”
type = string
}
Variable “azure_tenant_id” {
description = “Azure tenant for service principal”
type = string
}
variable “azure_subscription_id” {
description = “Azure subscription-id for service principal”
type = string
}
terraform.tfvars
azure_app_id=”xxxxxx-xxxx-xxxx-xxxx-xxxxxx”
azure_password=”xxxxxxxxxxxxxxxxxxxxxxxxxxxxxxxx”
azure_tenant_id=”xxxxxxxxxxxxxxxxxxxxxxxxxxxxxxxxxxxx”
azure_subscription_id=”xxxxxxxxxxxxxxxxxxxxxxxxxxxxxxxxxxx”
main.tf
terraform {
backend “azurerm” {
resource_group_name = “RGaskdba”
storage_account_name = “soodstore”
container_name = “container4terraform”
key = “DEV_TFSTATE”
}
}
provider “azurerm” {
version = “~>2.0”
client_id = var.azure_app_id
client_secret = var.azure_password
tenant_id = var.azure_tenant_id
subscription_id = var.azure_subscription_id
features {}
}
resource “azurerm_resource_group” “test” {
name = “terratestRG”
location= “Australia Southeast”
}
A “Backend” in Terraform determines how the state is loaded, here we are specifying “azurerm” as the backend, which means it will go to Azure, and we are specifying the BLOB resource group name, storage account name and container name where the state file will reside in Azure. “Key” represents the name of state-file in BLOB.
This code will create a resource group named terratestRG in Australia Southeast region.
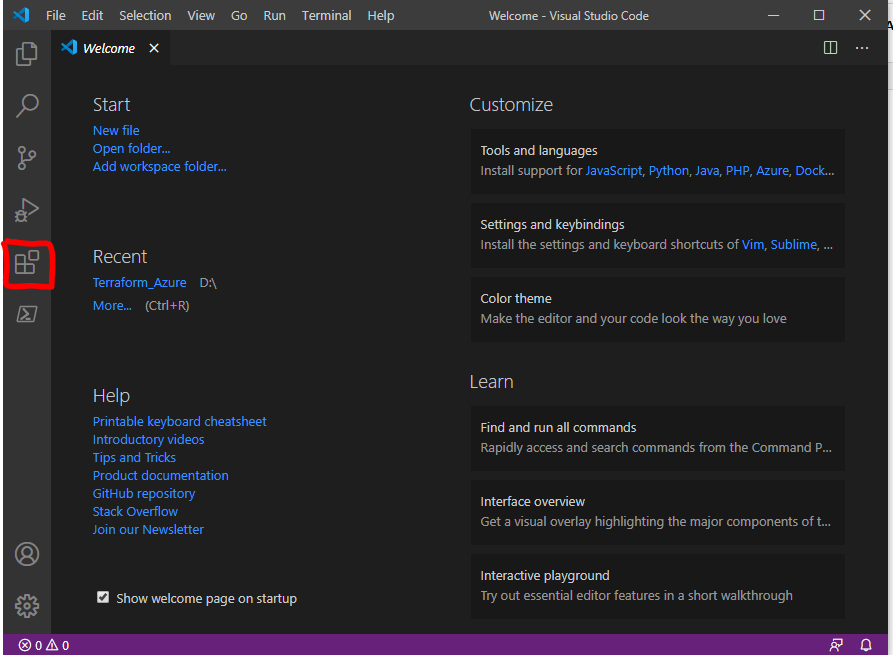
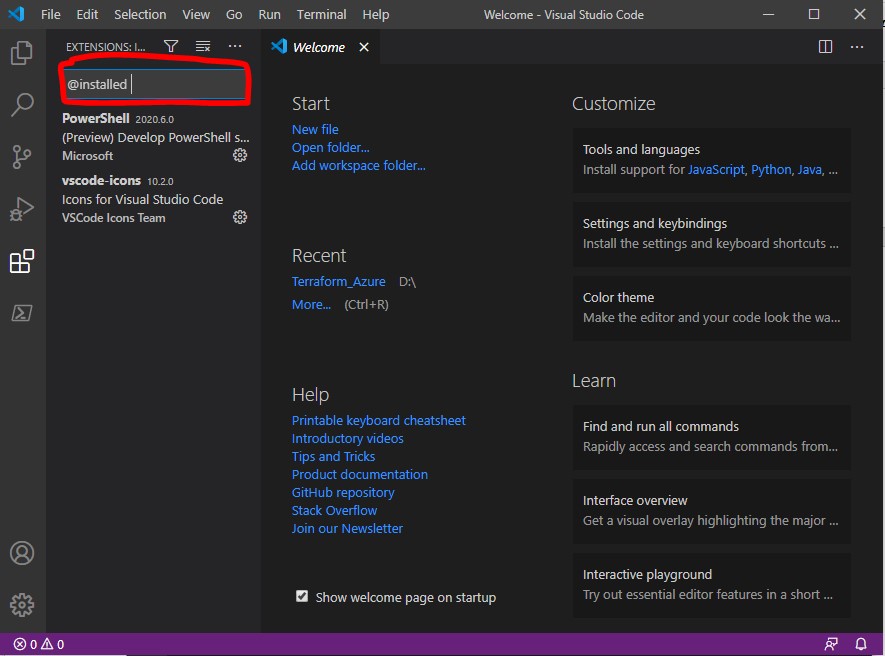
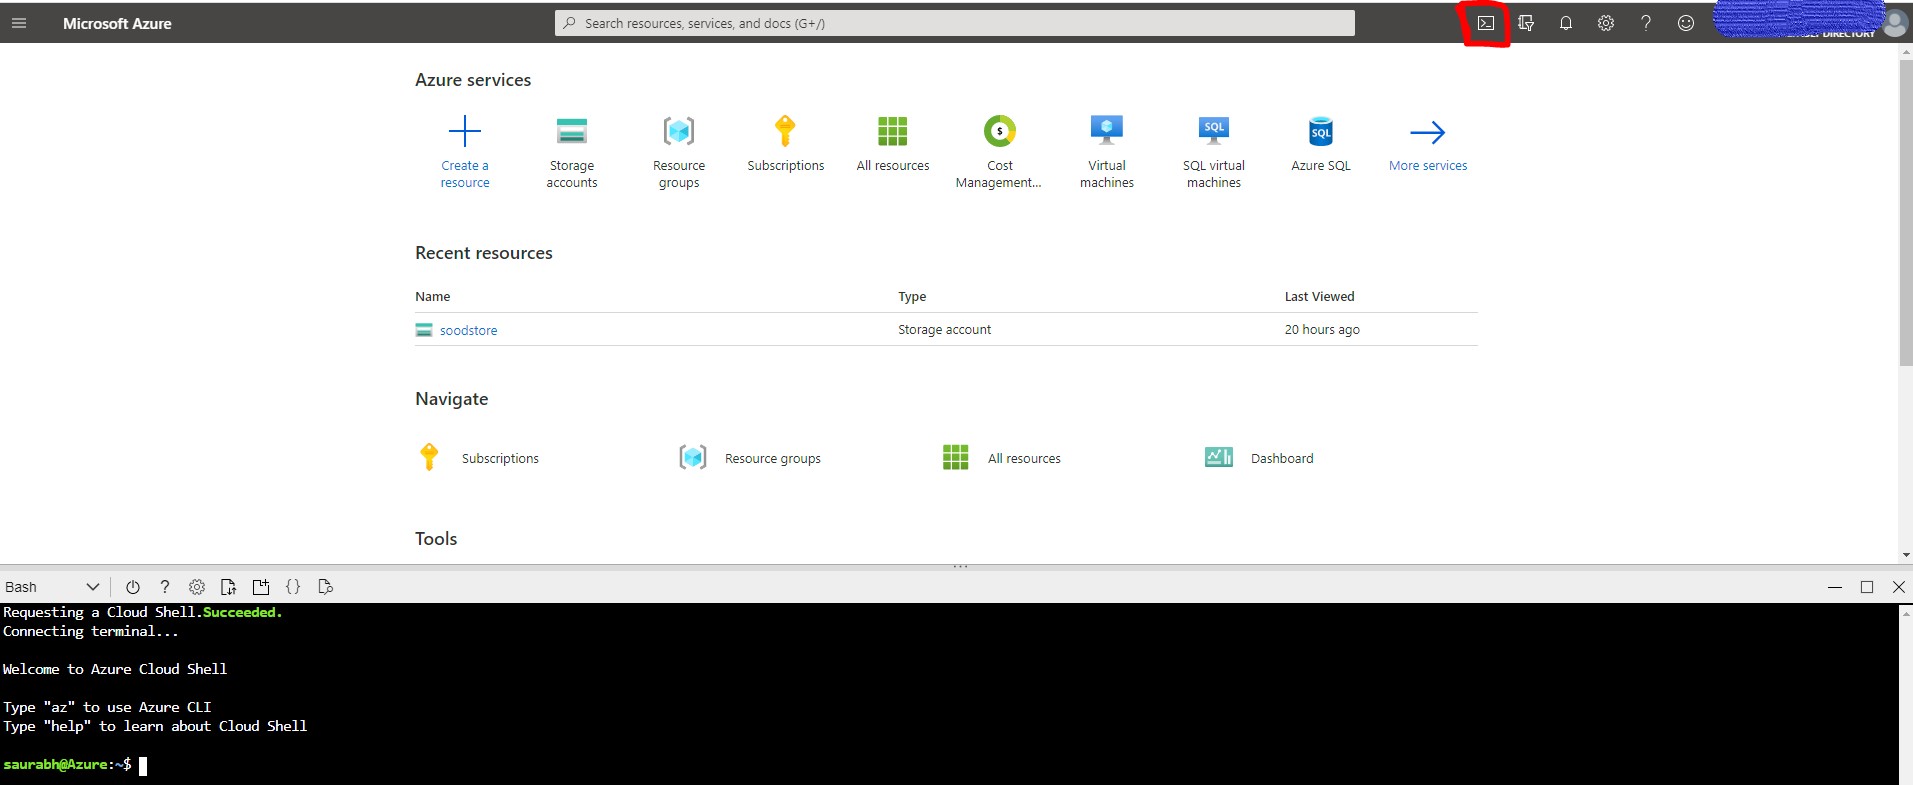
Once these files are created in “tfstate” folder, go to VSCode and open the folder using File =>Open Folder => tfstate , click command palette and run “Azure: Terraform init”

A pop-up will appear asking to “Open Cloud Shell” click yes.

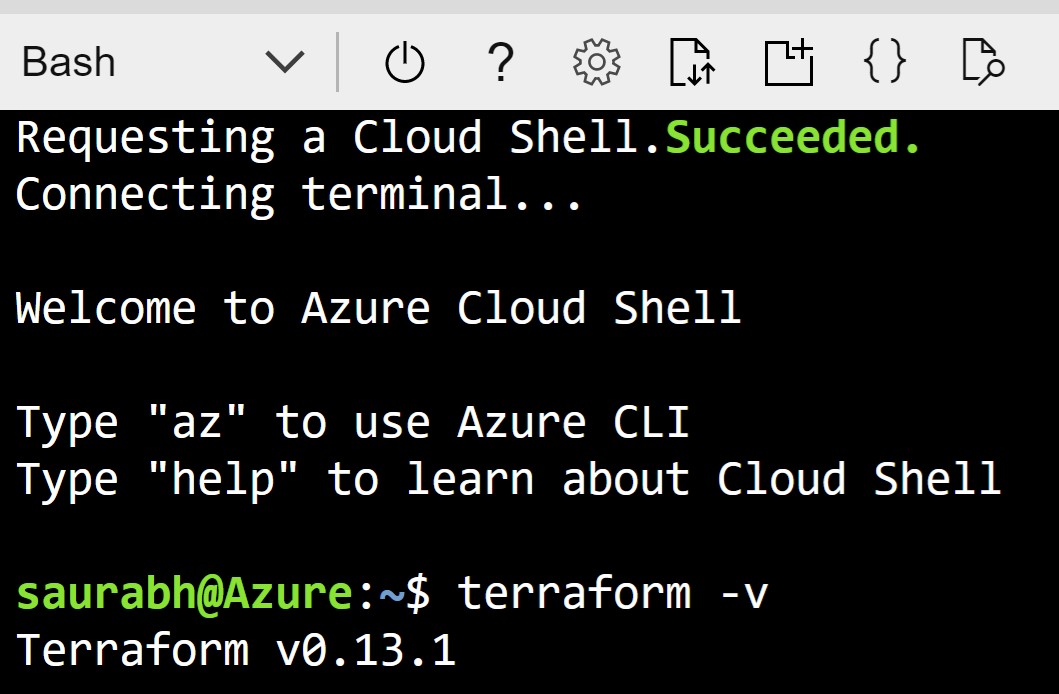
It has initialize azurerm backend and installed required plugins for azure and it will copy all the local terraform files in tfstate folder to Azure file-share.
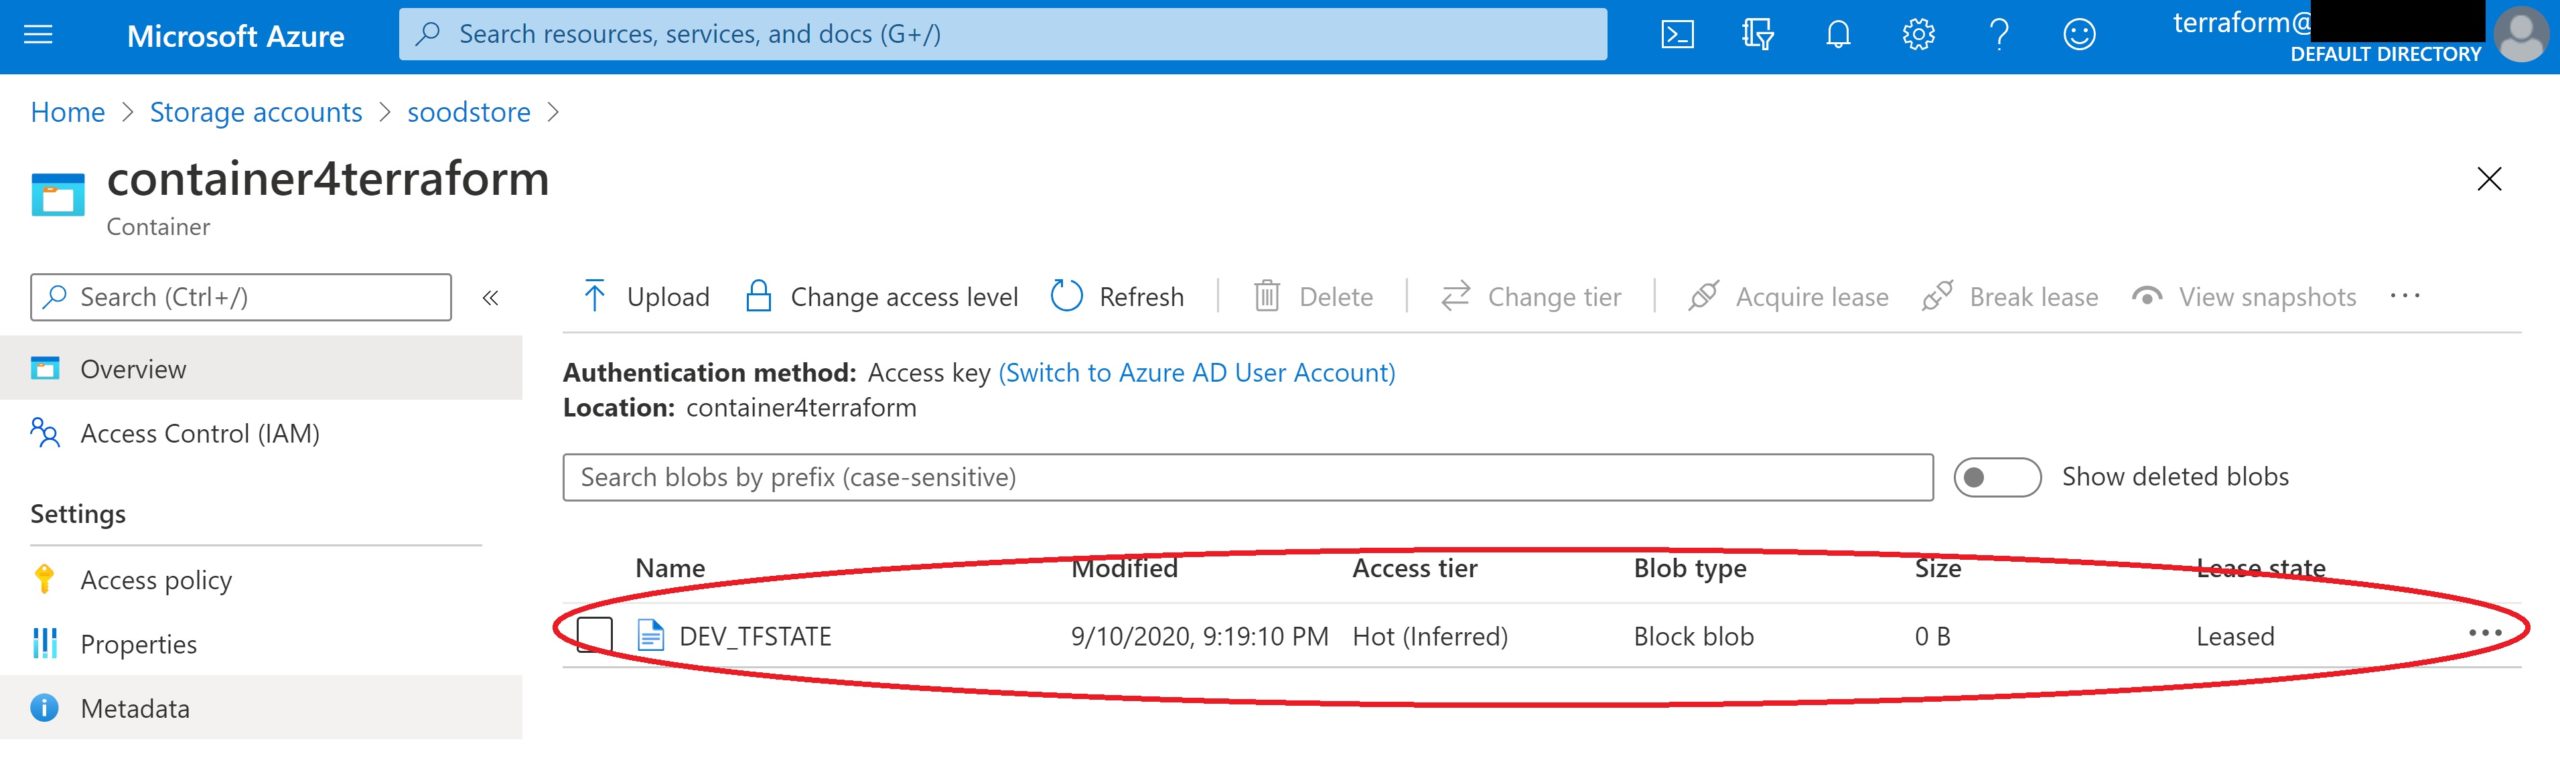
Click on Azure :Terraform Plan in Command Palette, following plan will be created.
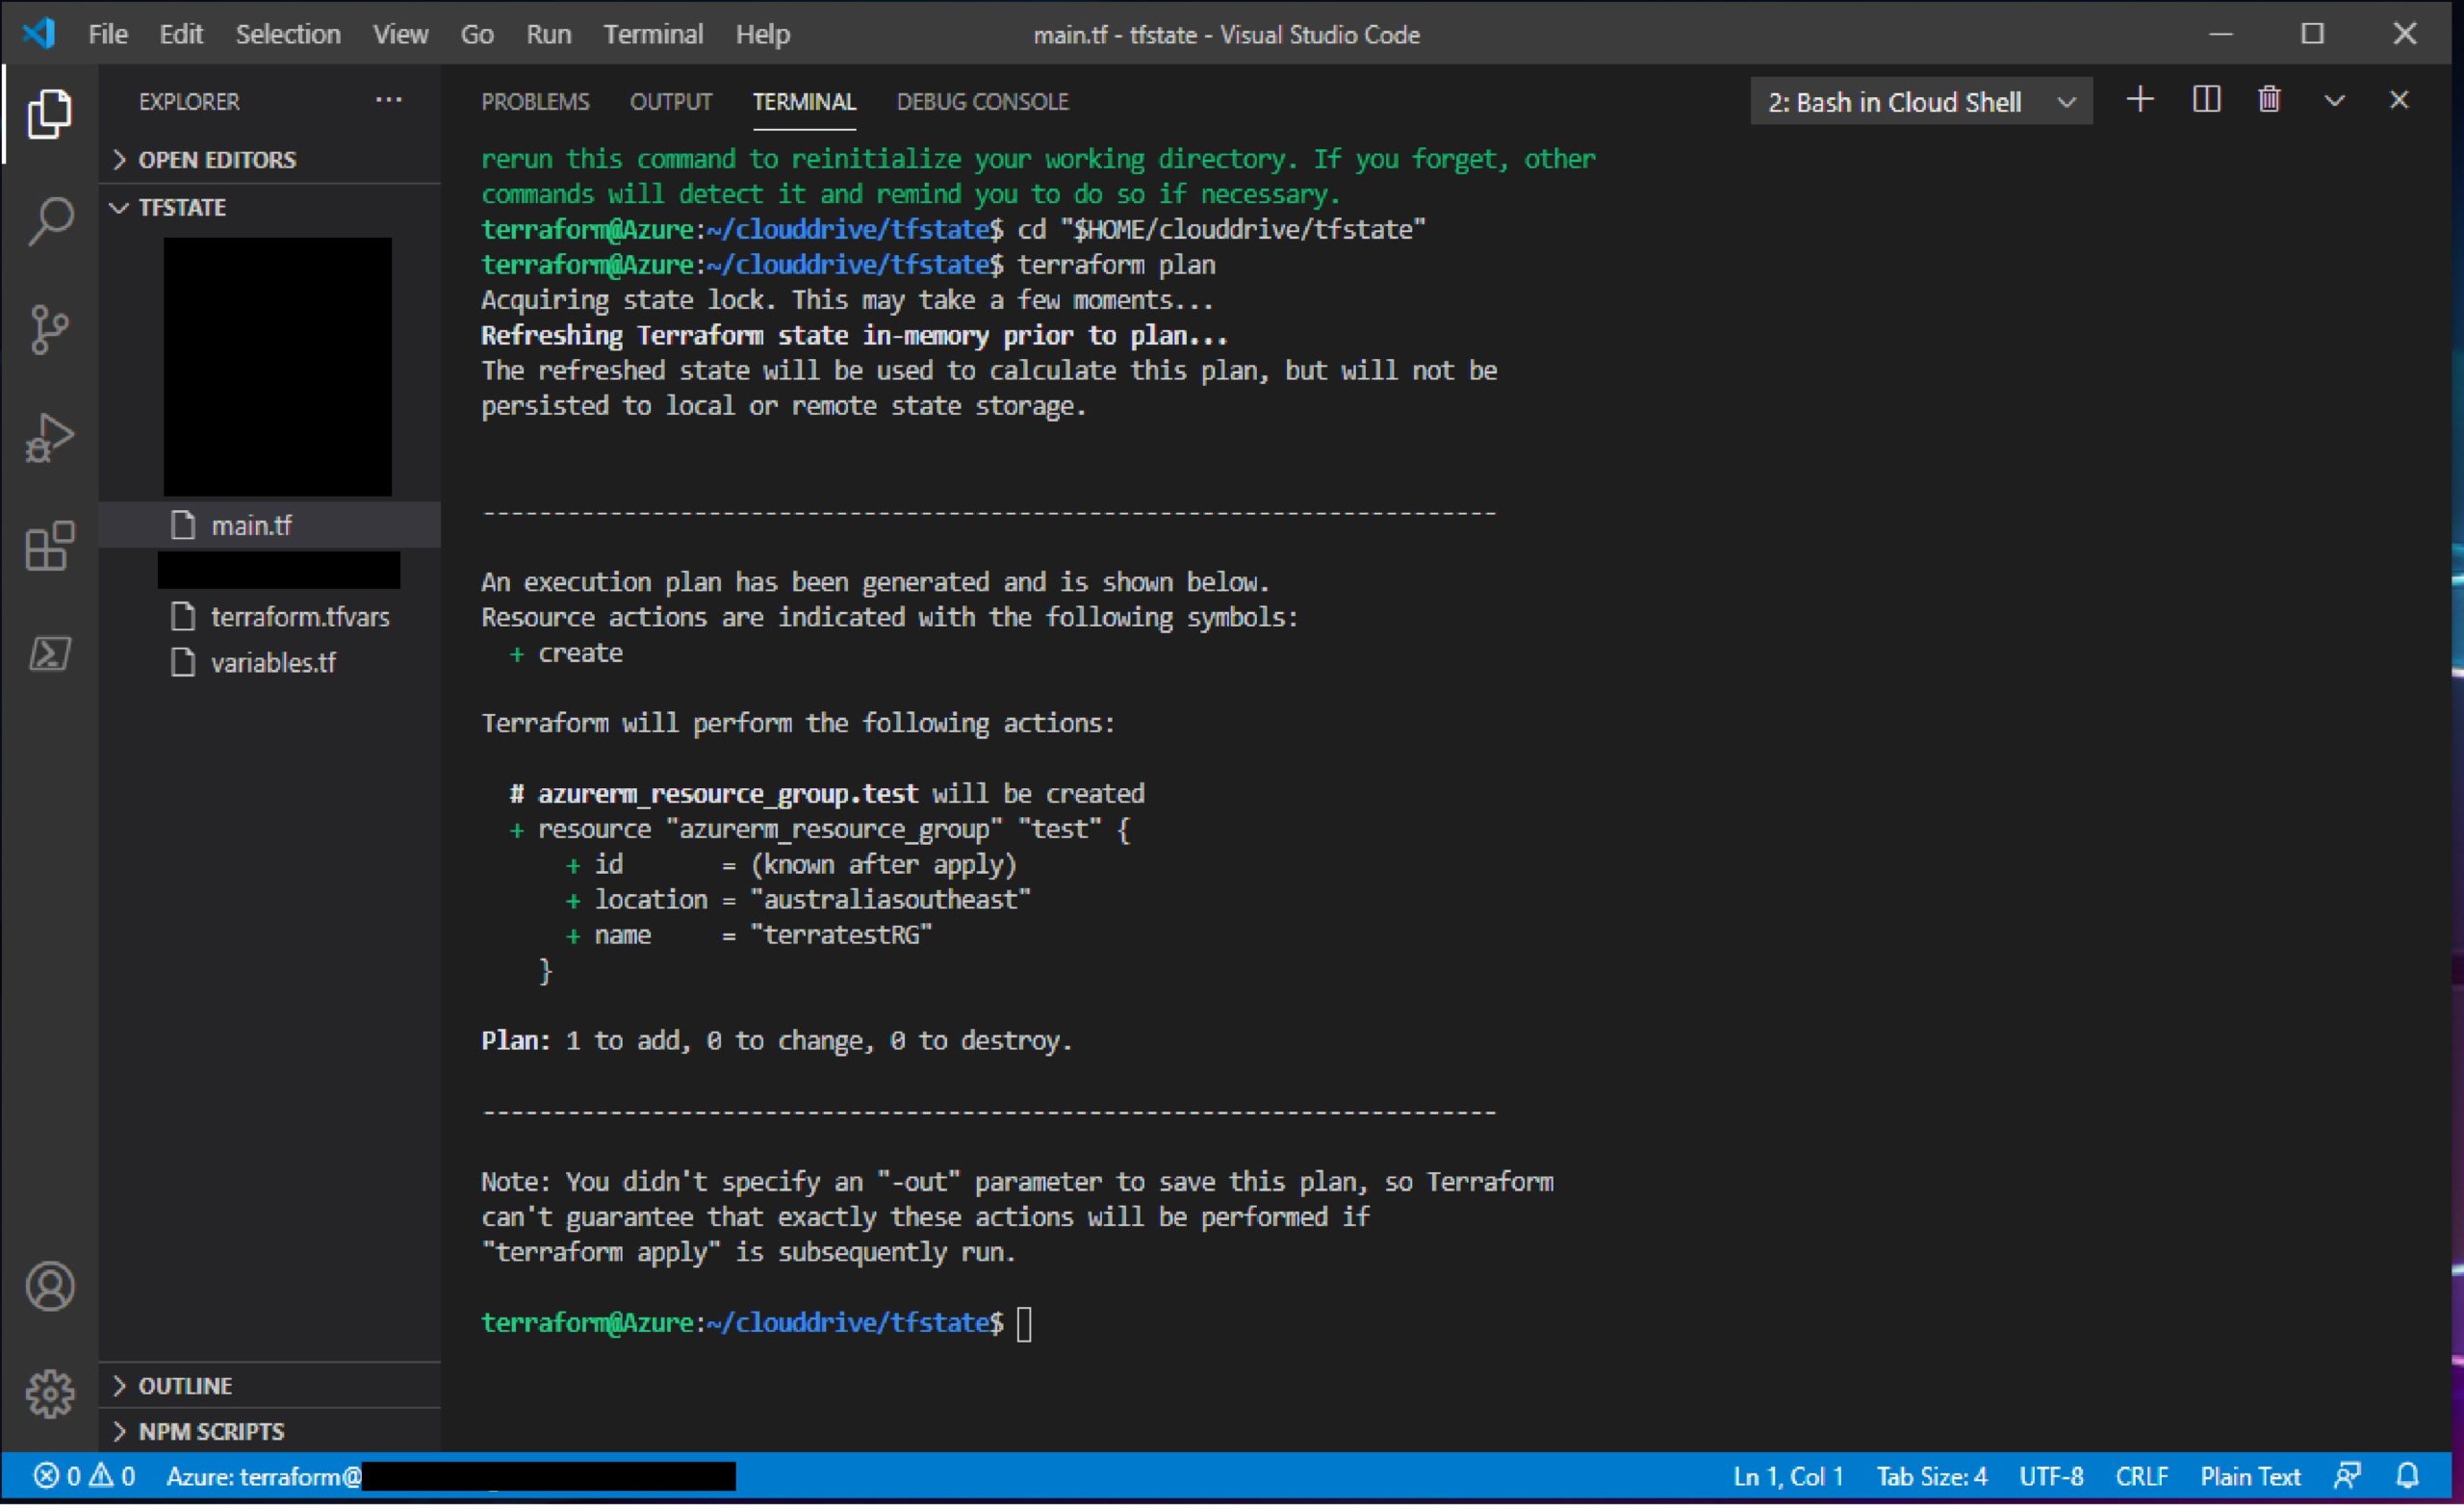
It has initialized a plan to create mentioned resource group and at the same time we can see that Terraform state-file “DEV_TFSTATE” is created in the specified container
Click on Azure :Terraform Apply in Command Palette and it will create the resource group.
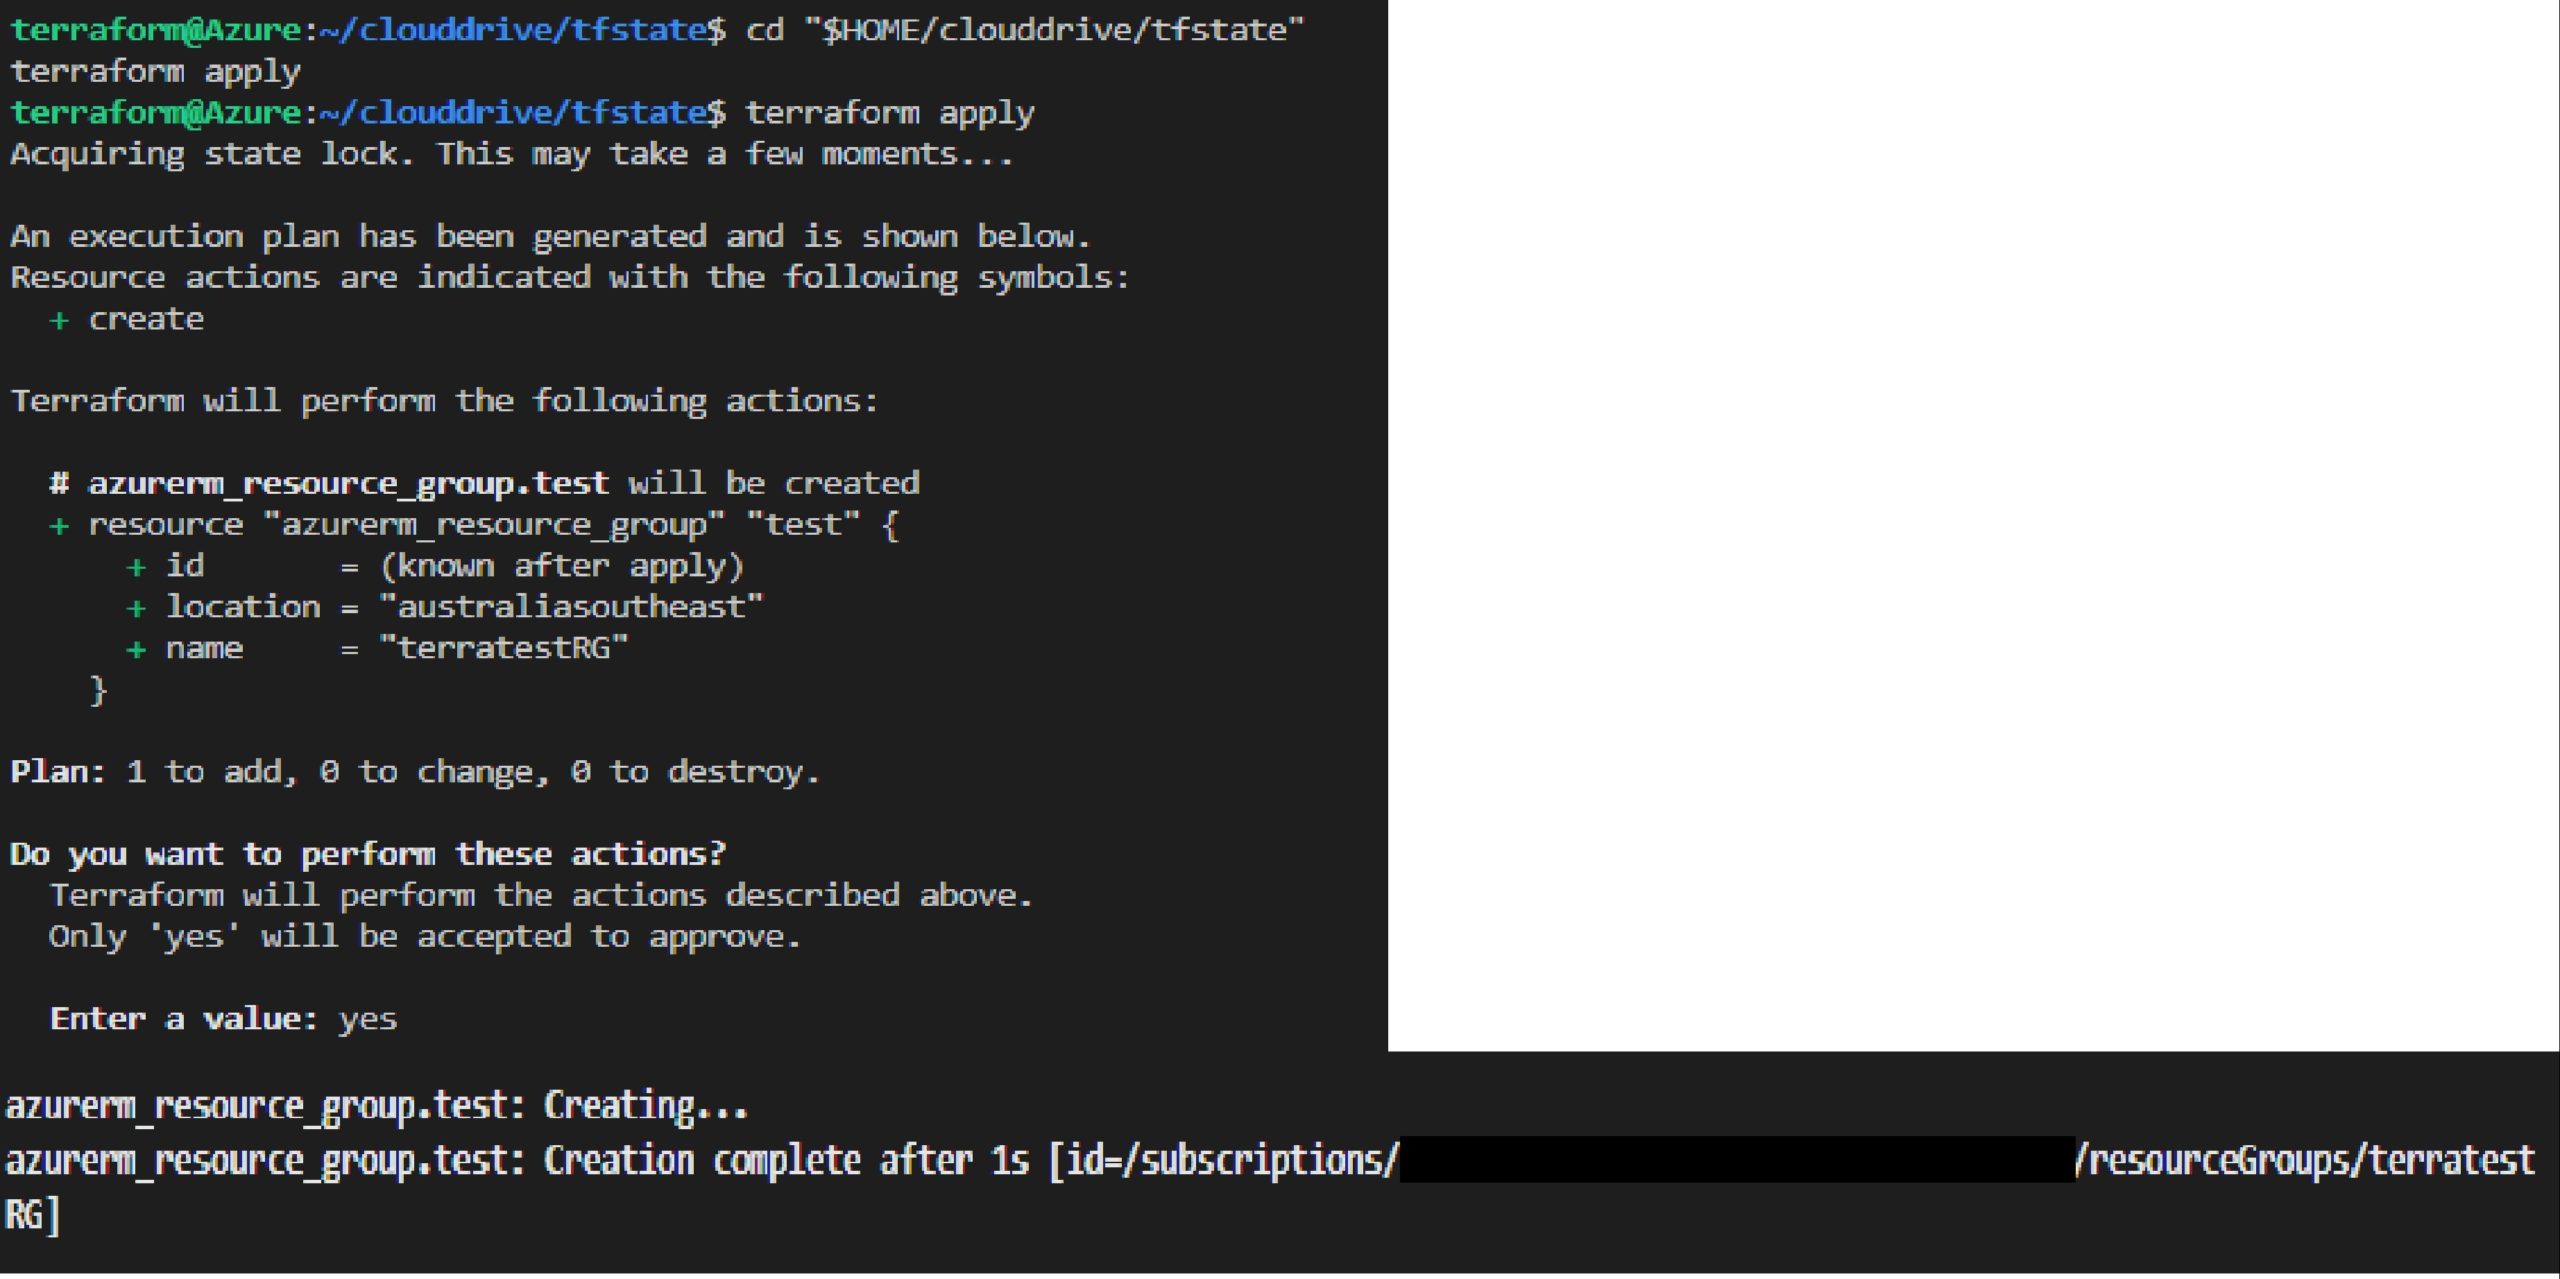
Azure resource group is created using VSCode, Azure service-principal and placing Terraform state-file under Blob storage.

Recent Comments