As 11gR2 is out for Linux, I decided to upgrade one of my existing 10.2.0.3 database to 11.2.0.1 to get the look and feel of 11gR2. Direct upgrade to 11gR2 is supported from 9.2.0.8 or higher, 10.1.0.5 or higher, 10.2.0.2 or higher and 11.1.0.6 or higher. If you have a database 9.2.0.6 then first you need to upgrade to intermediate release i.e 9.2.0.8 then to 11.2.0.1.
9.2.0.6==>9.2.0.8==>11.2.0.1
8.1.7.0==>8.1.7.4==>10.2.0.4==>11.2.0.1
I will discuss how to upgrade an existing Single Instance 10.2.0.3 database with ASM, having same ORACLE_HOME, to 11gR2 with ASM. The upgrade needs to be performed in two phases:
1. Upgrade the ASM instance
2. Upgrade the database
Upgrade ASM Instance:
===============
There are three ways to upgrade already existing ASM instance:
- Using OUI of Grid Infrastructure
- Using ASM Configuration Assistant
- Manual upgrade
The recommended method to upgrade ASM instance is to use OUI of Grid Infrastructure, which I have used .
STEP 1:
— Create OSASM group:
If you want, you can create a separate group for ASM instance here it is named as ASMADMIN.
# groupadd asmadmin
# usermod -a -G asmadmin oracle
STEP 2:
Before upgrading an ASM instance to 11gR2 it is mandatory to add a ‘user and password’ combination to the password file which is local to node’s ASM instance. Login to database instance “/ as sysdba”:
SQL> create user sood identified by oracle;
SQL> grant sysdba to sood;
SQL> select * from v$pwfile_users;

USERNAME            SYSDB SYSOP
------------------------------ -----       -----
SYS                        TRUE  TRUE
SOOD                     TRUE  FALSE
STEP 3:
From 11gR2 onwards ASM is part of Grid Infrastructure and we need to download Grid Infrastructure software first. To download the software for 11gR2 Grid Infrastructure click here
Start the RunInstaller:
./runInstaller

Click on the Image to Enlarge.
1. It will automatically defaults to the “Upgrade Mode”

Select “Upgrade Grid Infrastructure” and click Next.
2. On clicking Next, It will detect the already existing ASM instance. Shutdown the Database and ASM instance at this point.
 Click “Yes”.
3. Select the Language
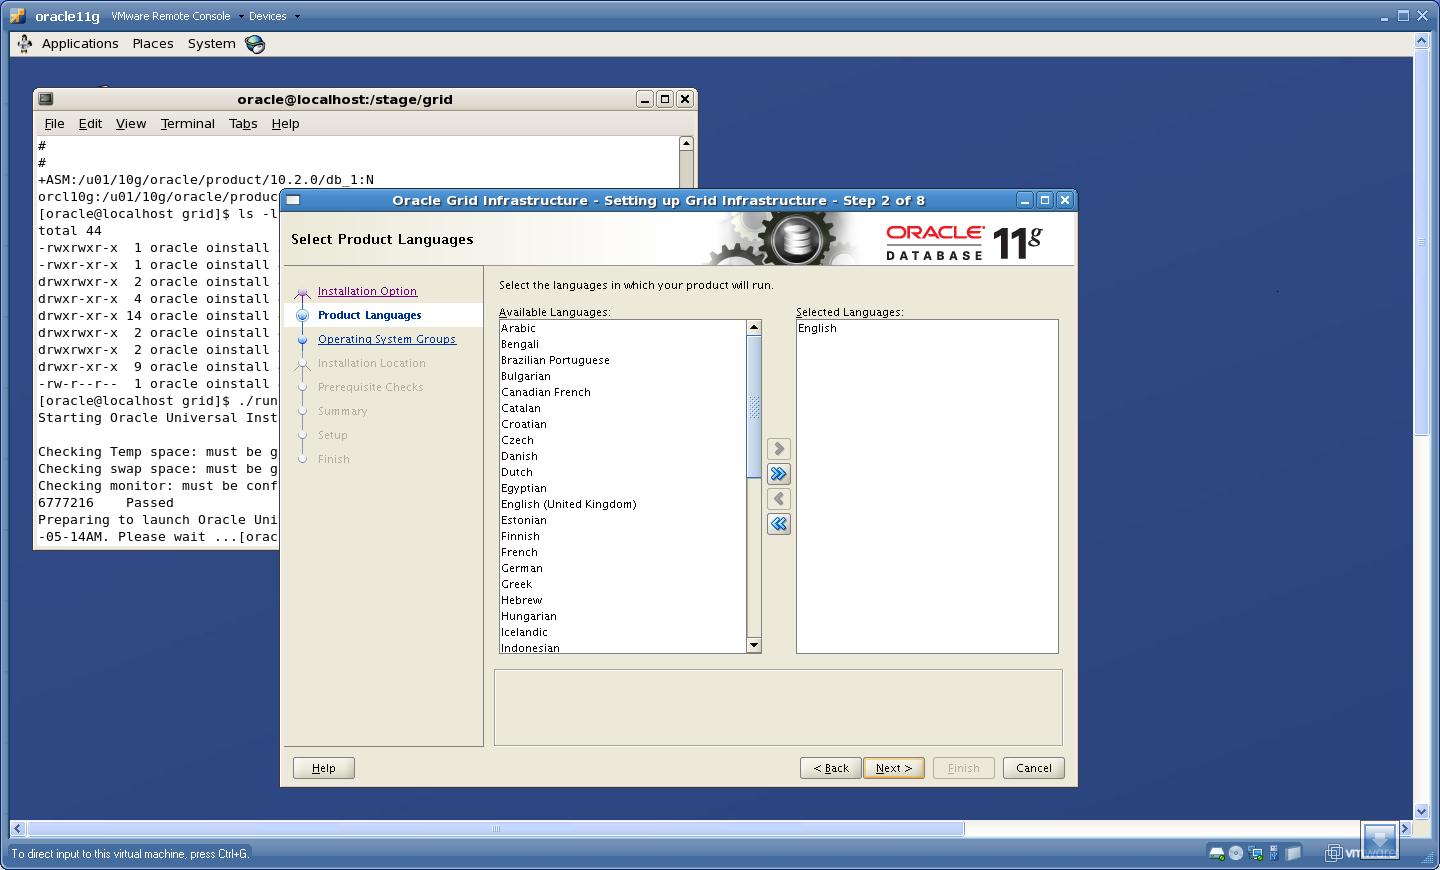 Click “Next”.
4. Enter a Password for ASMSNMP user. The password can be anything you want, though Oracle will ask you to set a password which adhers to Oracle’s standards otherwise a “Red Cross” will be shown in the tab at left hand side. Do not worry about that cross 🙂
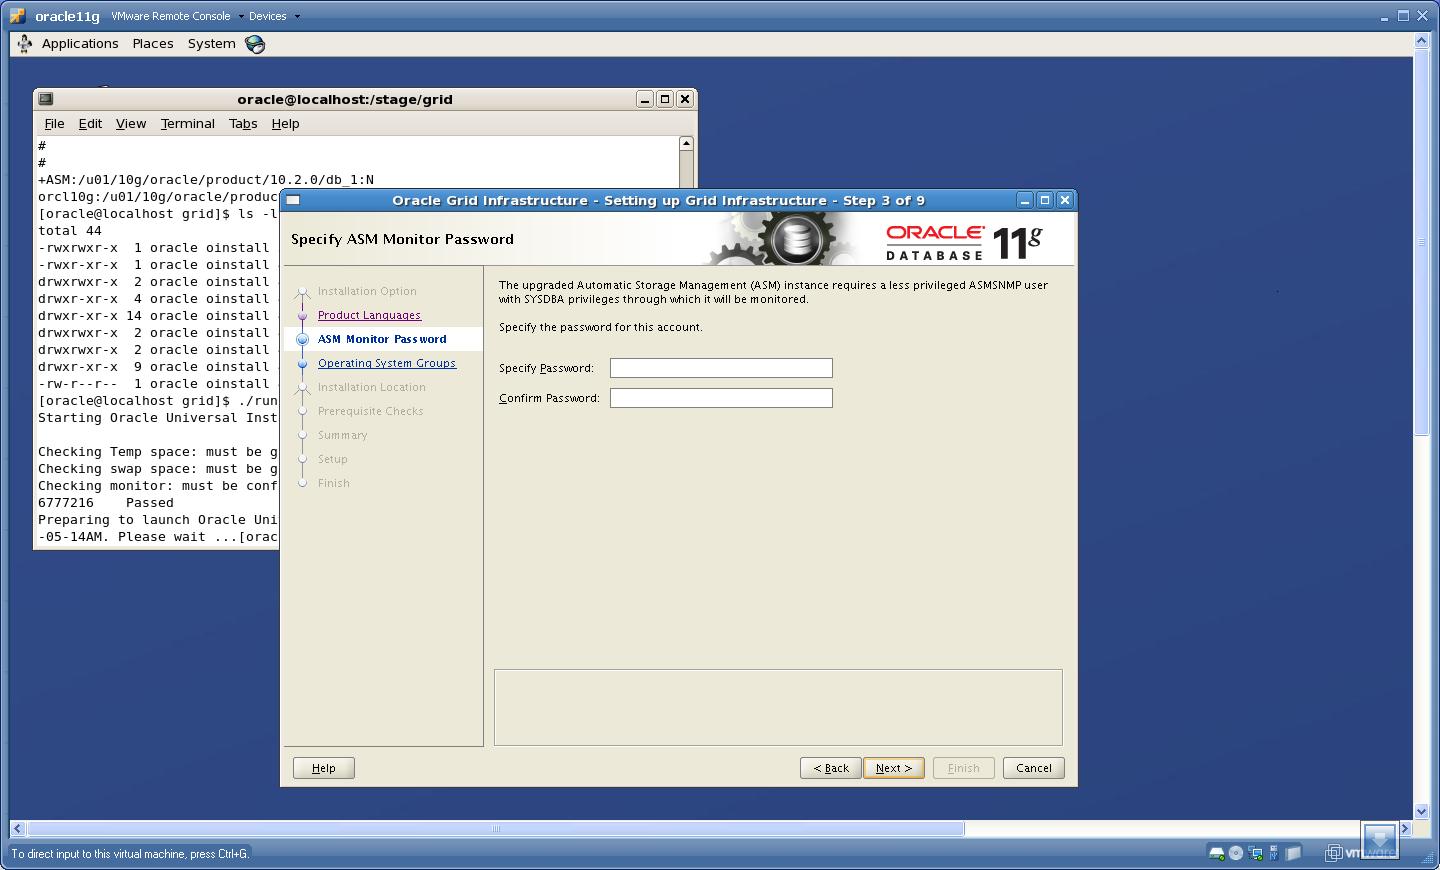 Click “Next”.
5. Provide the Group details
 Click “Next”.
 Click “Yes”.
6. Provide the Base and Home location for Grid Infrastructure Home
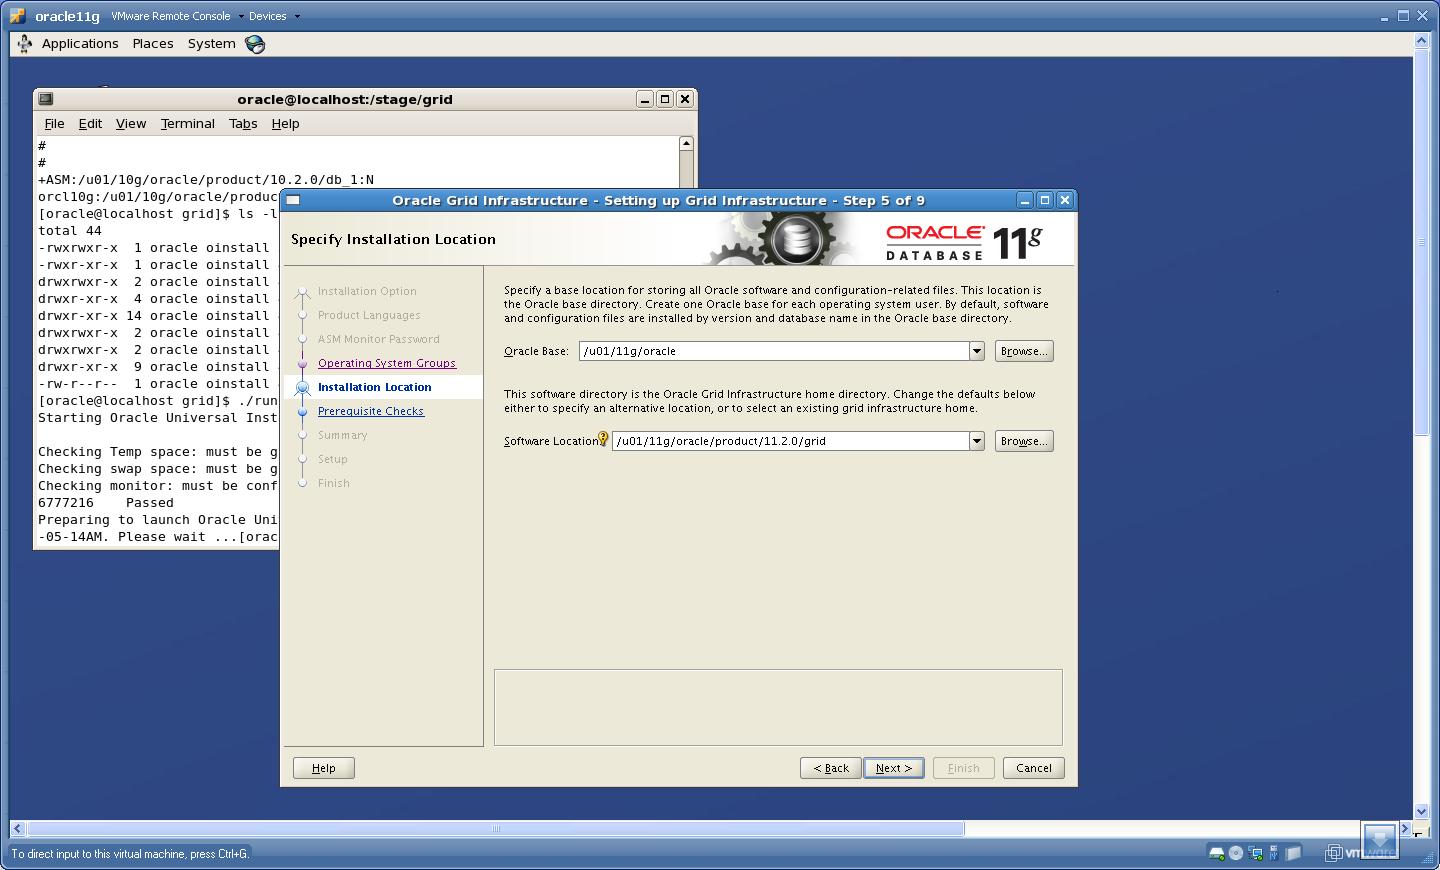 Click “Next”.
7. It will perform the Prerequisite checks here, For more information on this click Installation Fixup script
I have select “Ignore All”
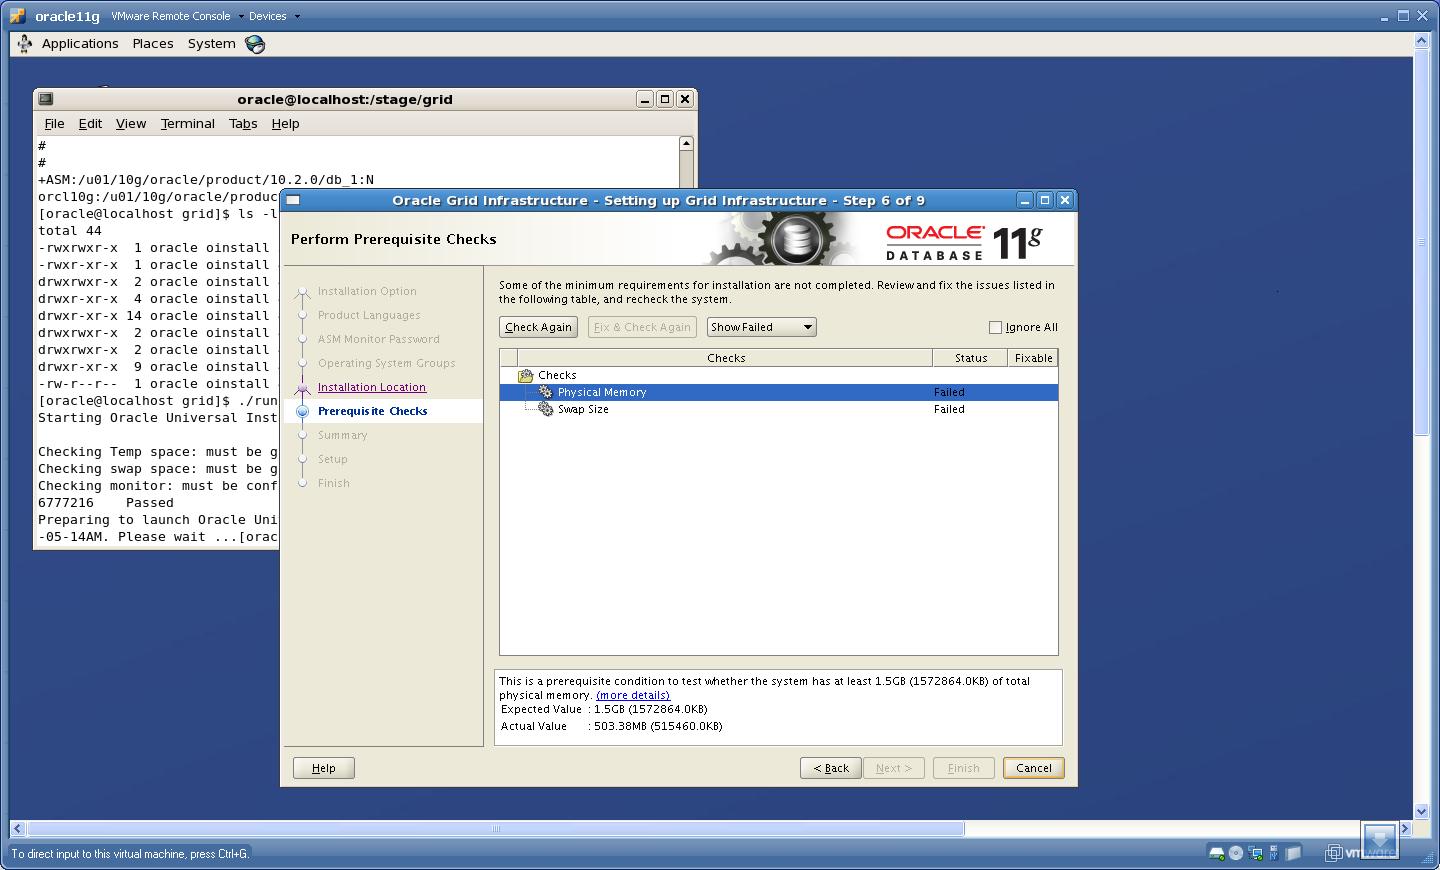 Click “Next”.
8. Now you will see “Summary” page, make sure that the Installation Option is shown as “Upgrade Grid Infrastructure” and Migrate ASM as “True”.
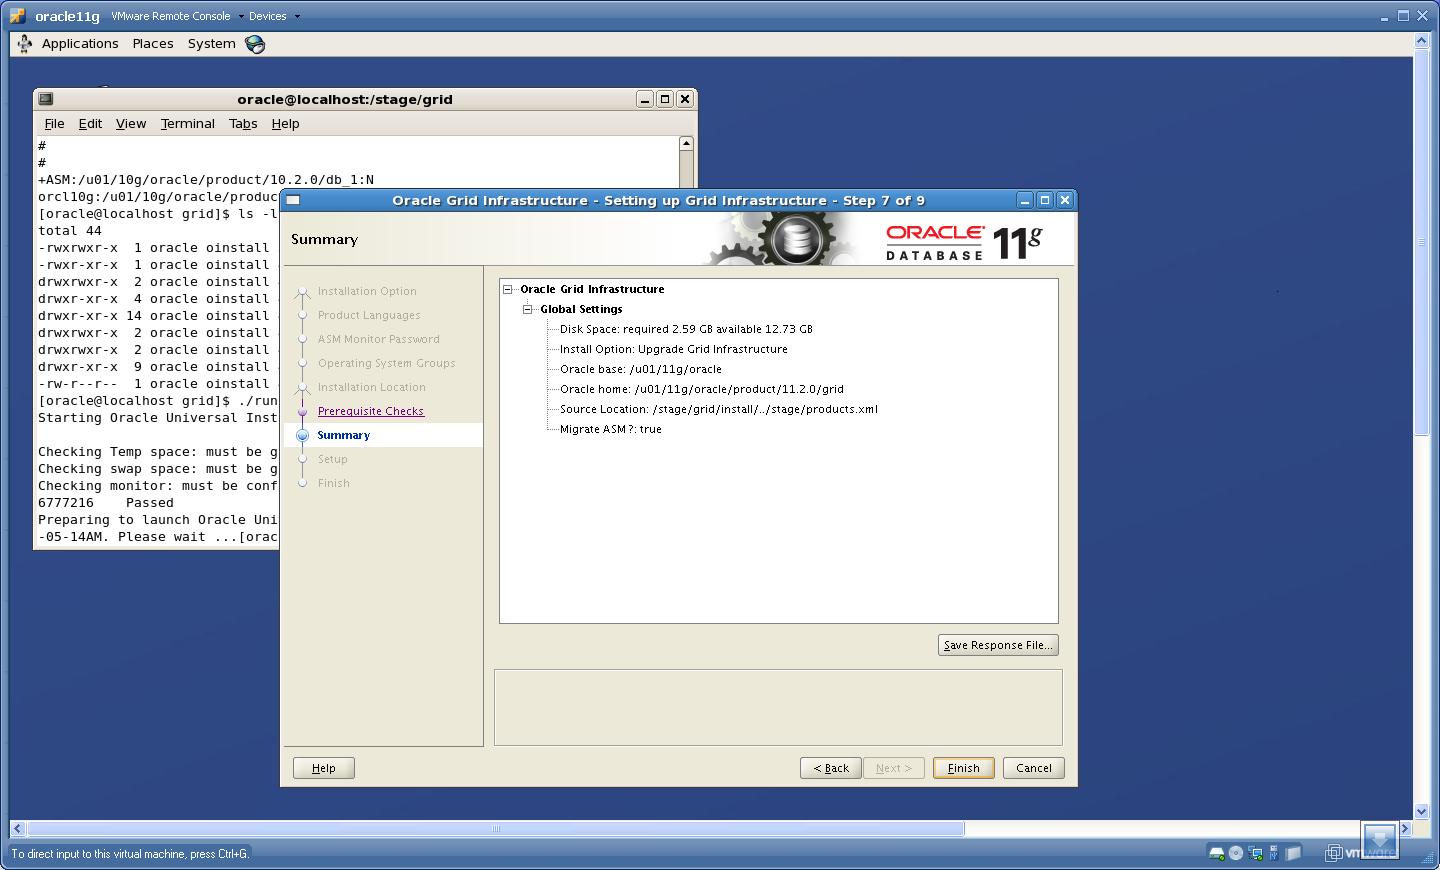 Click “Finish”.
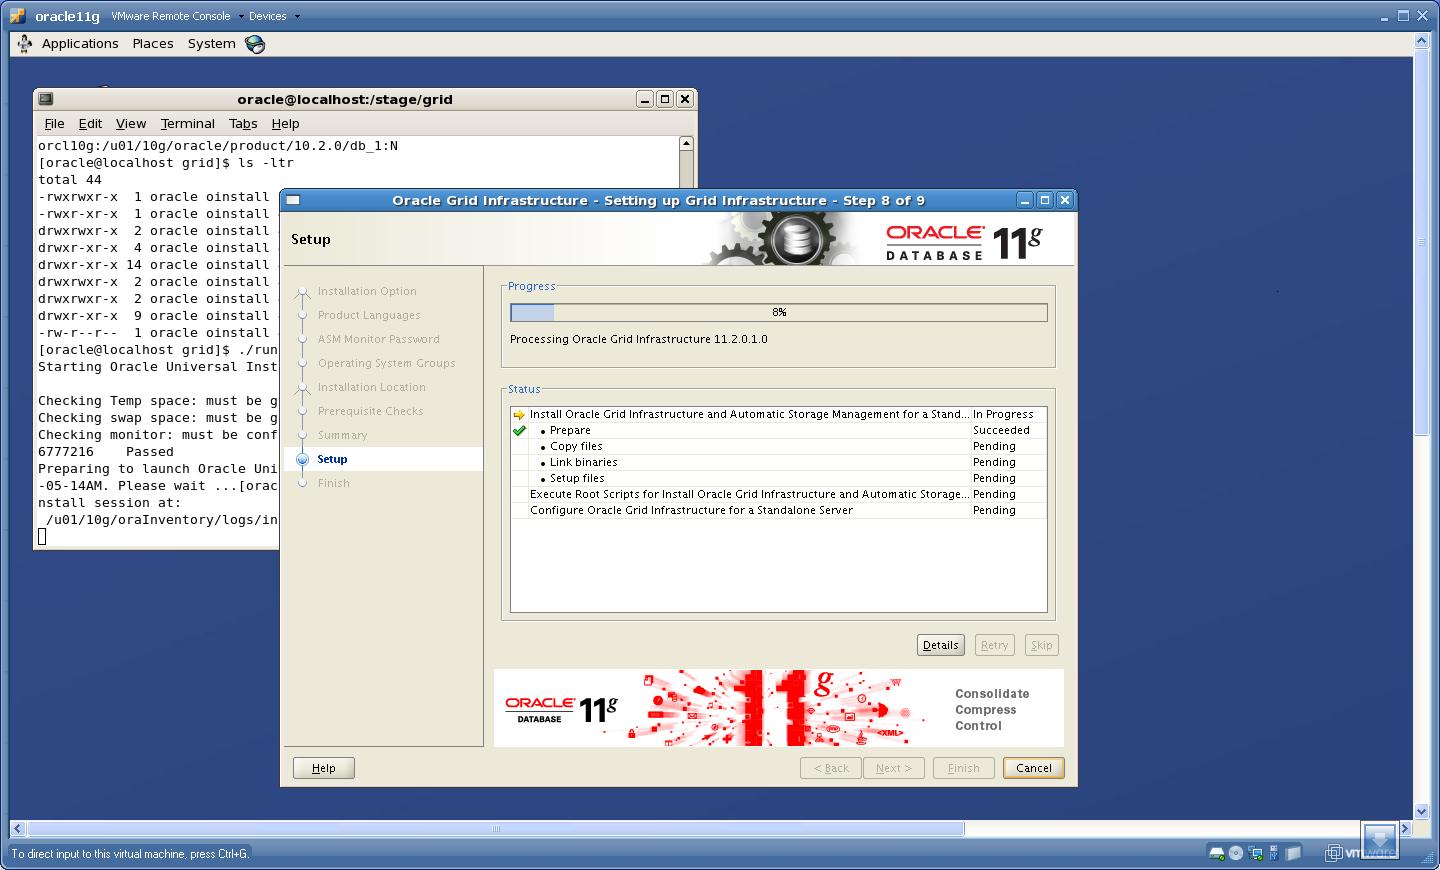
9. Now the setup for “Grid Infrastructure’ is started
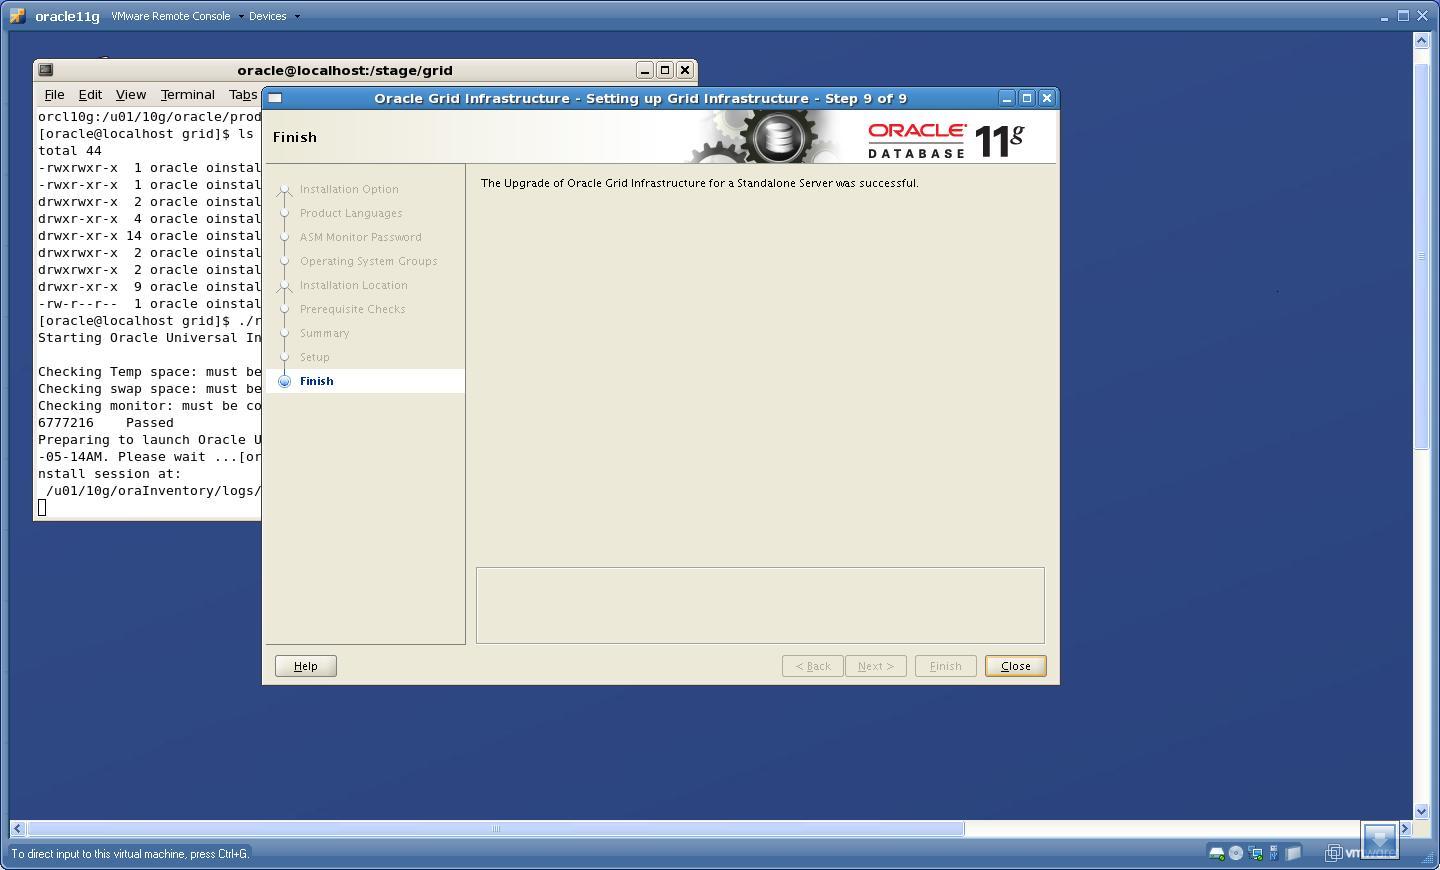
 Run the rootupgrade.sh
# ./rootupgrade.sh
[root@localhost ~]# cd /u01/11g/oracle/product/11.2.0/grid/
[root@localhost grid]# pwd
/u01/11g/oracle/product/11.2.0/grid
[root@localhost grid]# ./rootupgrade.sh
Running Oracle 11g root.sh script...

The following environment variables are set as:
ORACLE_OWNER= oracle
ORACLE_HOME=  /u01/11g/oracle/product/11.2.0/grid

Enter the full pathname of the local bin directory: [/usr/local/bin]:
The file "dbhome" already exists in /usr/local/bin.  Overwrite it? (y/n)
[n]: y
Copying dbhome to /usr/local/bin ...
The file "oraenv" already exists in /usr/local/bin.  Overwrite it? (y/n)
[n]: y
Copying oraenv to /usr/local/bin ...
The file "coraenv" already exists in /usr/local/bin.  Overwrite it? (y/n)
[n]: y
Copying coraenv to /usr/local/bin ...

Entries will be added to the /etc/oratab file as needed by
Database Configuration Assistant when a database is created
Finished running generic part of root.sh script.
Now product-specific root actions will be performed.
2009-09-05 11:46:25: Checking for super user privileges
2009-09-05 11:46:25: User has super user privileges
2009-09-05 11:46:25: Parsing the host name
Using configuration parameter file: /u01/11g/oracle/product/11.2.0/grid/crs/install/crsconfig_params
Creating trace directory
LOCAL ADD MODE
Creating OCR keys for user 'oracle', privgrp 'oinstall'..
Operation successful.
CSS appears healthy
Stopping CSSD.
Shutting down CSS daemon.
Shutdown request successfully issued.
Shutdown has begun. The daemons should exit soon.
CRS-4664: Node localhost successfully pinned.
Adding daemon to inittab
CRS-4123: Oracle High Availability Services has been started.
ohasd is starting

localhost     2009/09/05 11:49:02     /u01/11g/oracle/product/11.2.0/grid/cdata/localhost/backup_20090905_114902.olr
Successfully configured Oracle Grid Infrastructure for a Standalone Server
Updating inventory properties for clusterware
Starting Oracle Universal Installer...

Checking swap space: must be greater than 500 MB.   Actual 885 MB    Passed
The inventory pointer is located at /etc/oraInst.loc
The inventory is located at /u01/10g/oraInventory
'UpdateNodeList' was successful.
[root@localhost grid]#
10. After the upgrade I have checked /etc/oratab file and found the entry of ASM pointing to new home i.e now ASM is a part of “Grid Infrastructure”
“+ASM:/u01/11g/oracle/product/11.2.0/grid:N”
Upgrade Database Instance:
===================
NOTE: DO NOT SHUTDOWN DATABASE BEFORE RUNNING DBUA.
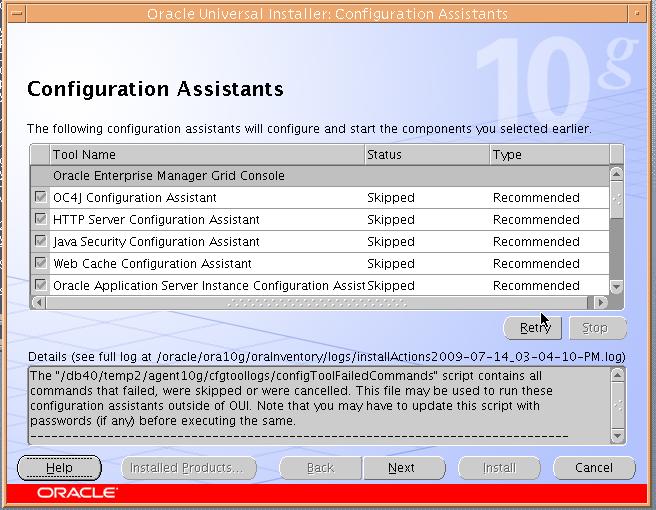
STEP 1: Install The Software:
To download Oracle Database 11gR2 software click Here . Execute runInstaller to install “SOFTWARE ONLY” option, you can follow this link to install the software. Make sure that you select “software only” option as shown below rest of the steps are same as described in above link.

STEP 2: Run Pre-Upgrade Information tool
I have installed the software under “/u01/11g/oracle/product/11.2.0/dbhome_1” location. Once the software is installed, then go to location $ORACLE_HOME/rdbms/admin and copy utlu112i.sql script to /tmp directory. Now login to 10g database “/ as sysdba” and startup the 10g database, then:
SQL> spool /tmp/upgrade.spl
SQL> @/tmp/utlu112i.sql
SQL> spool off</span>
Following is the output of this script from my database:
Oracle Database 11.2 Pre-Upgrade Information Tool    09-04-2009 01:54:32
.
**********************************************************************
Database:
**********************************************************************
--> name:          ORCL10G
--> version:       10.2.0.3.0
--> compatible:    10.2.0.3.0
--> blocksize:     8192
--> platform:      Linux IA (32-bit)
--> timezone file: V3
.
**********************************************************************
Tablespaces: [make adjustments in the current environment]
**********************************************************************
--> SYSTEM tablespace is adequate for the upgrade.
.... minimum required size: 724 MB
.... AUTOEXTEND additional space required: 244 MB
--> UNDOTBS1 tablespace is adequate for the upgrade.
.... minimum required size: 464 MB
.... AUTOEXTEND additional space required: 439 MB
--> SYSAUX tablespace is adequate for the upgrade.
.... minimum required size: 447 MB
.... AUTOEXTEND additional space required: 207 MB
--> TEMP tablespace is adequate for the upgrade.
.... minimum required size: 61 MB
.... AUTOEXTEND additional space required: 41 MB
.
**********************************************************************
Flashback: OFF
**********************************************************************
**********************************************************************
Update Parameters: [Update Oracle Database 11.2 init.ora or spfile]
**********************************************************************
WARNING: --> "sga_target" needs to be increased to at least 336 MB
WARNING: --> "java_pool_size" needs to be increased to at least 64 MB
WARNING: --> "pga_aggregate_target" needs to be increased to at least 24 MB
.
**********************************************************************
Renamed Parameters: [Update Oracle Database 11.2 init.ora or spfile]
**********************************************************************
-- No renamed parameters found. No changes are required.
.
**********************************************************************
Obsolete/Deprecated Parameters: [Update Oracle Database 11.2 init.ora or spfile]
**********************************************************************
--> background_dump_dest         11.1       DEPRECATED   replaced by
"diagnostic_dest"
--> user_dump_dest               11.1       DEPRECATED   replaced by
"diagnostic_dest"
--> core_dump_dest               11.1       DEPRECATED   replaced by
"diagnostic_dest"
.
**********************************************************************
Components: [The following database components will be upgraded or installed]
**********************************************************************
--> Oracle Catalog Views         [upgrade]  VALID
--> Oracle Packages and Types    [upgrade]  VALID
--> JServer JAVA Virtual Machine [upgrade]  VALID
--> Oracle XDK for Java          [upgrade]  VALID
--> Oracle Workspace Manager     [upgrade]  VALID
--> OLAP Analytic Workspace      [upgrade]  VALID
--> OLAP Catalog                 [upgrade]  VALID
--> EM Repository                [upgrade]  VALID
--> Oracle Text                  [upgrade]  VALID
--> Oracle XML Database          [upgrade]  VALID
--> Oracle Java Packages         [upgrade]  VALID
--> Oracle interMedia            [upgrade]  VALID
--> Spatial                      [upgrade]  VALID
--> Data Mining                  [upgrade]  VALID
--> Expression Filter            [upgrade]  VALID
--> Rule Manager                 [upgrade]  VALID
--> Oracle OLAP API              [upgrade]  VALID
.
**********************************************************************
Miscellaneous Warnings
**********************************************************************
WARNING: --> Database is using a timezone file older than version 11.
.... After the release migration, it is recommended that DBMS_DST package
.... be used to upgrade the 10.2.0.3.0 database timezone version
.... to the latest version which comes with the new release.
WARNING: --> Database contains schemas with stale optimizer statistics.
.... Refer to the Upgrade Guide for instructions to update
.... schema statistics prior to upgrading the database.
.... Component Schemas with stale statistics:
....   SYS
....   XDB
WARNING: --> Database contains schemas with objects dependent on network
packages.
.... Refer to the Upgrade Guide for instructions to configure Network ACLs.
WARNING: --> EM Database Control Repository exists in the database.
.... Direct downgrade of EM Database Control is not supported. Refer to the
.... Upgrade Guide for instructions to save the EM data prior to upgrade.
WARNING:--> recycle bin in use.
.... Your recycle bin turned on.
.... It is REQUIRED
.... that the recycle bin is empty prior to upgrading
.... your database.
.... The command:  PURGE DBA_RECYCLEBIN
.... must be executed immediately prior to executing your upgrade.
PL/SQL procedure successfully completed.
SQL> spool off
Adjust the warnings shown by Pre-Upgrade Information tool.
STEP 3 : Upgrade using DBUA
Execute the DBUA from 11gR2 software home as
$ cd $ORACLE_HOME/bin
$./dbua
1.
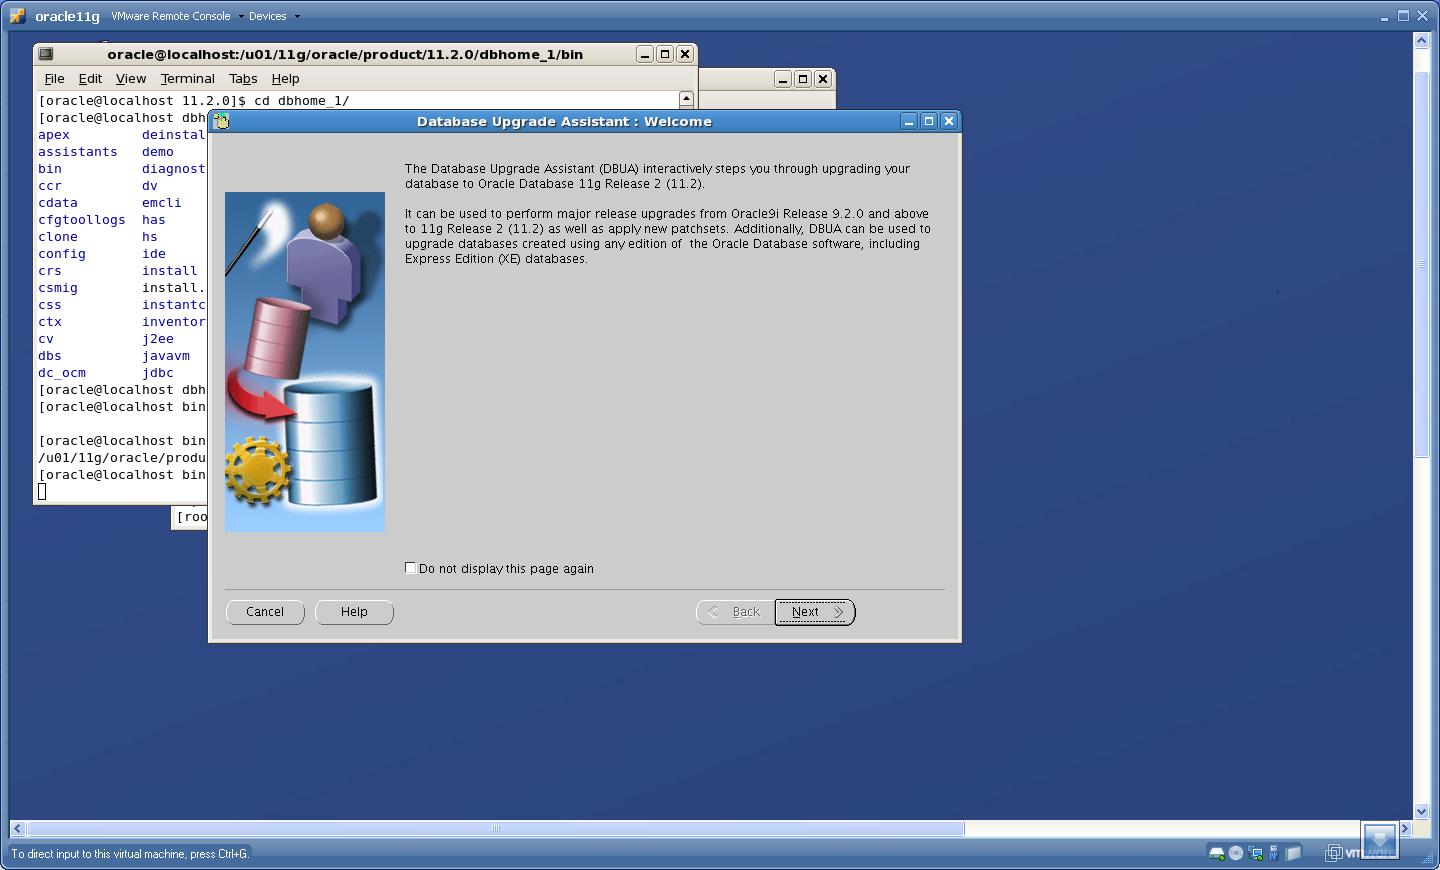
Click “Next”
2. Select the database that you want to upgrade
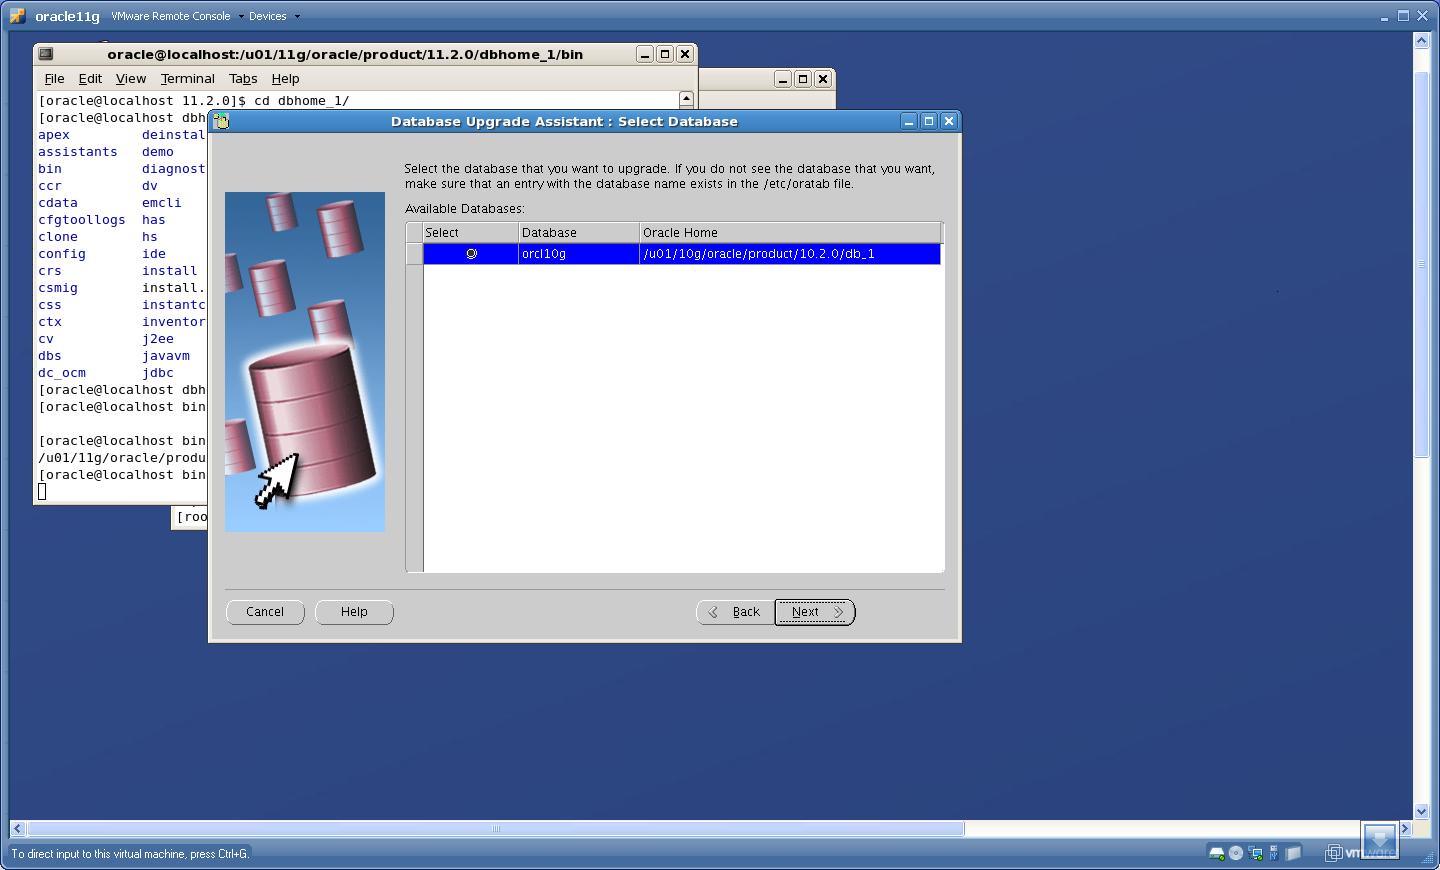 Click “Next”
3. Here DBUA will show warnings that were not solved after running Pre-Upgrade Information tool
 Click “Yes”
4. Turn OFF archiving while upgrading
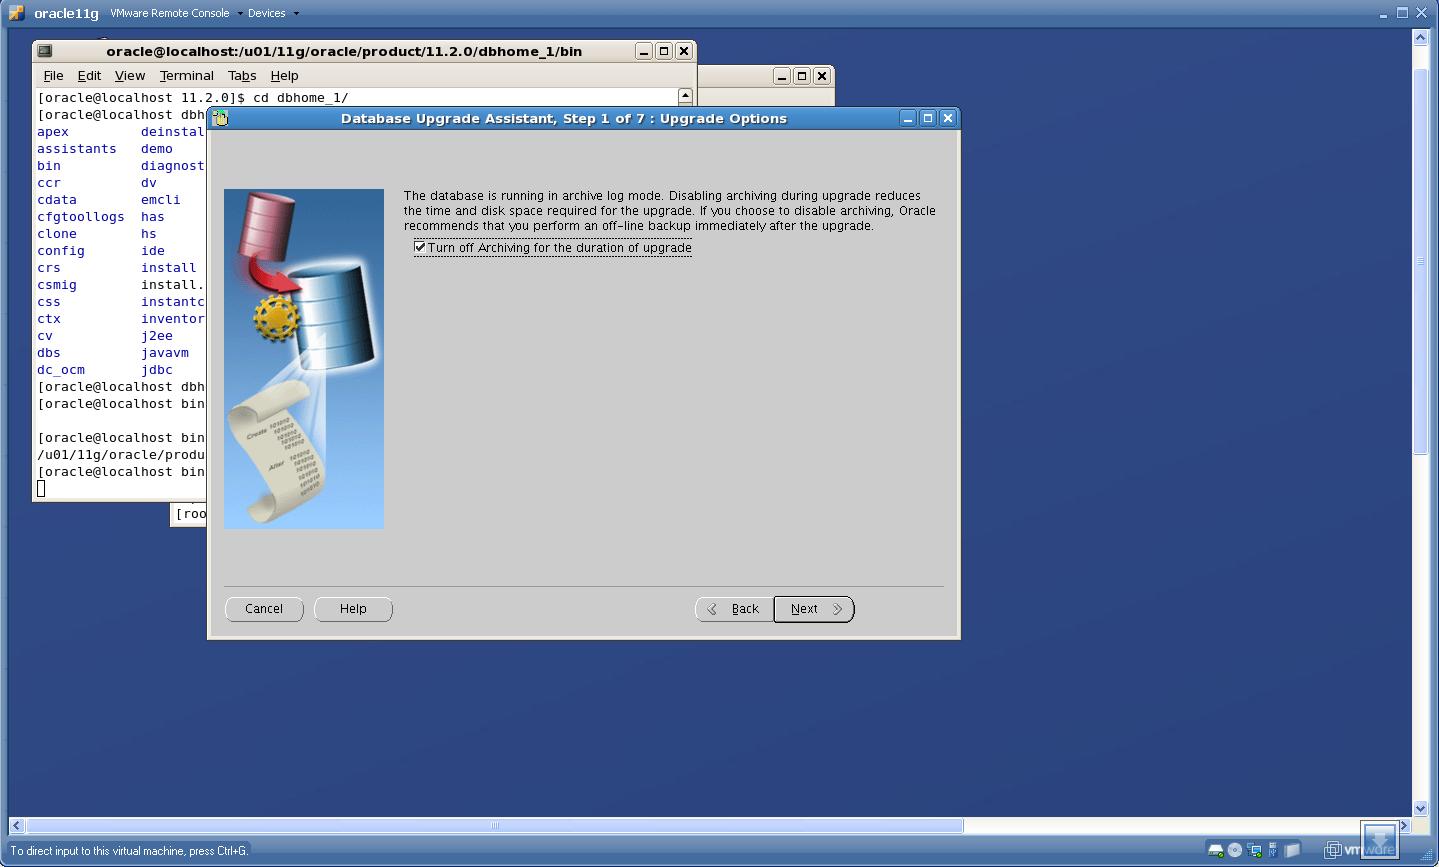 Click “Next”
5. Check whether you want to move the datafiles while upgrade, though the “move datafile” check-box was not highlighted when I upgraded
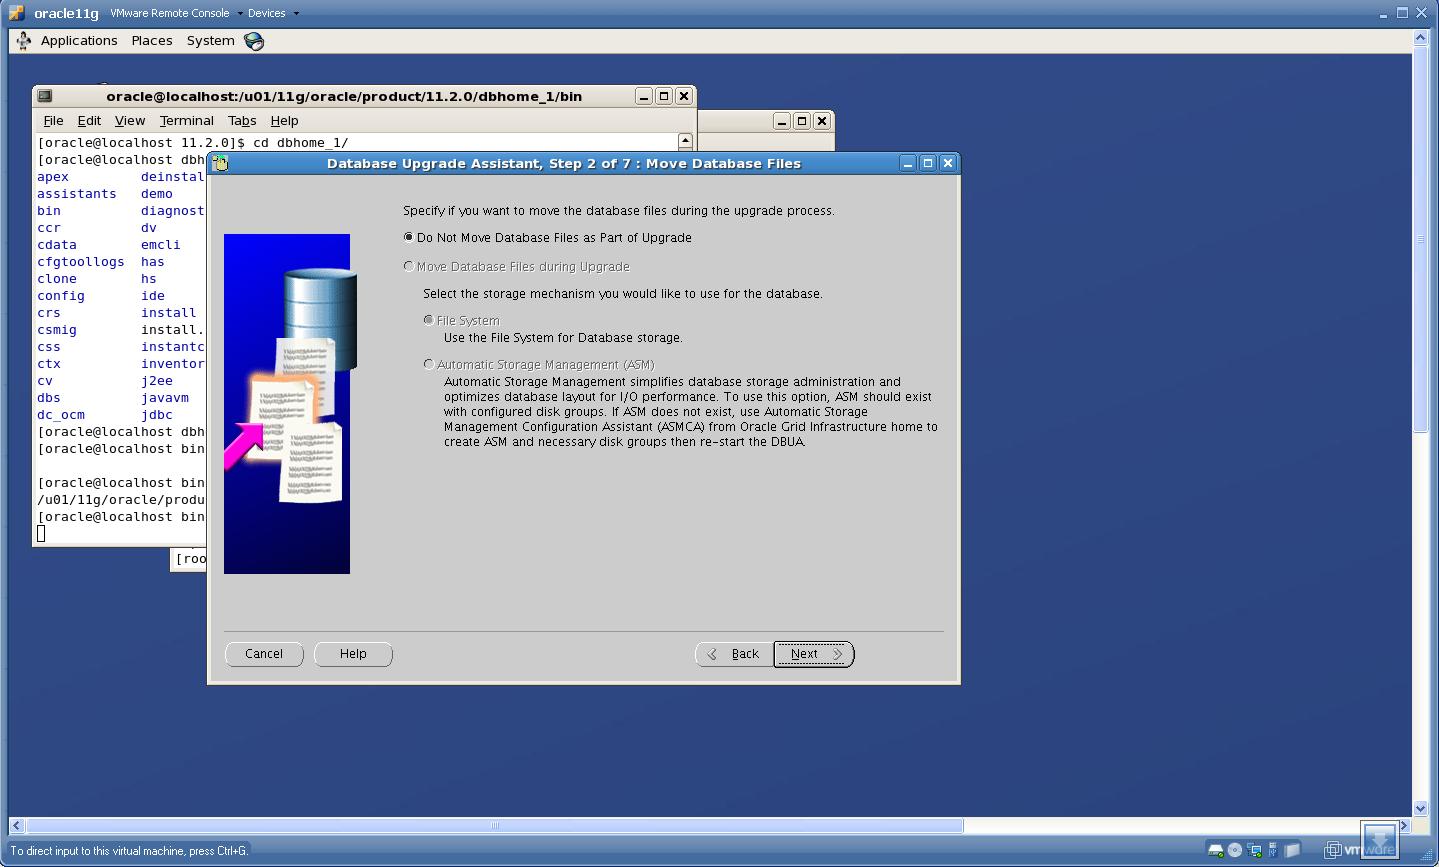 Click “Next”.
6. Specify “FRA” and “Diagnostic Destination”
 Click “Next”.
7. Check configuration for EM
 Click “Next”.
8. Check “Summary” page
 Click “Finish”
Upgrade Process is started
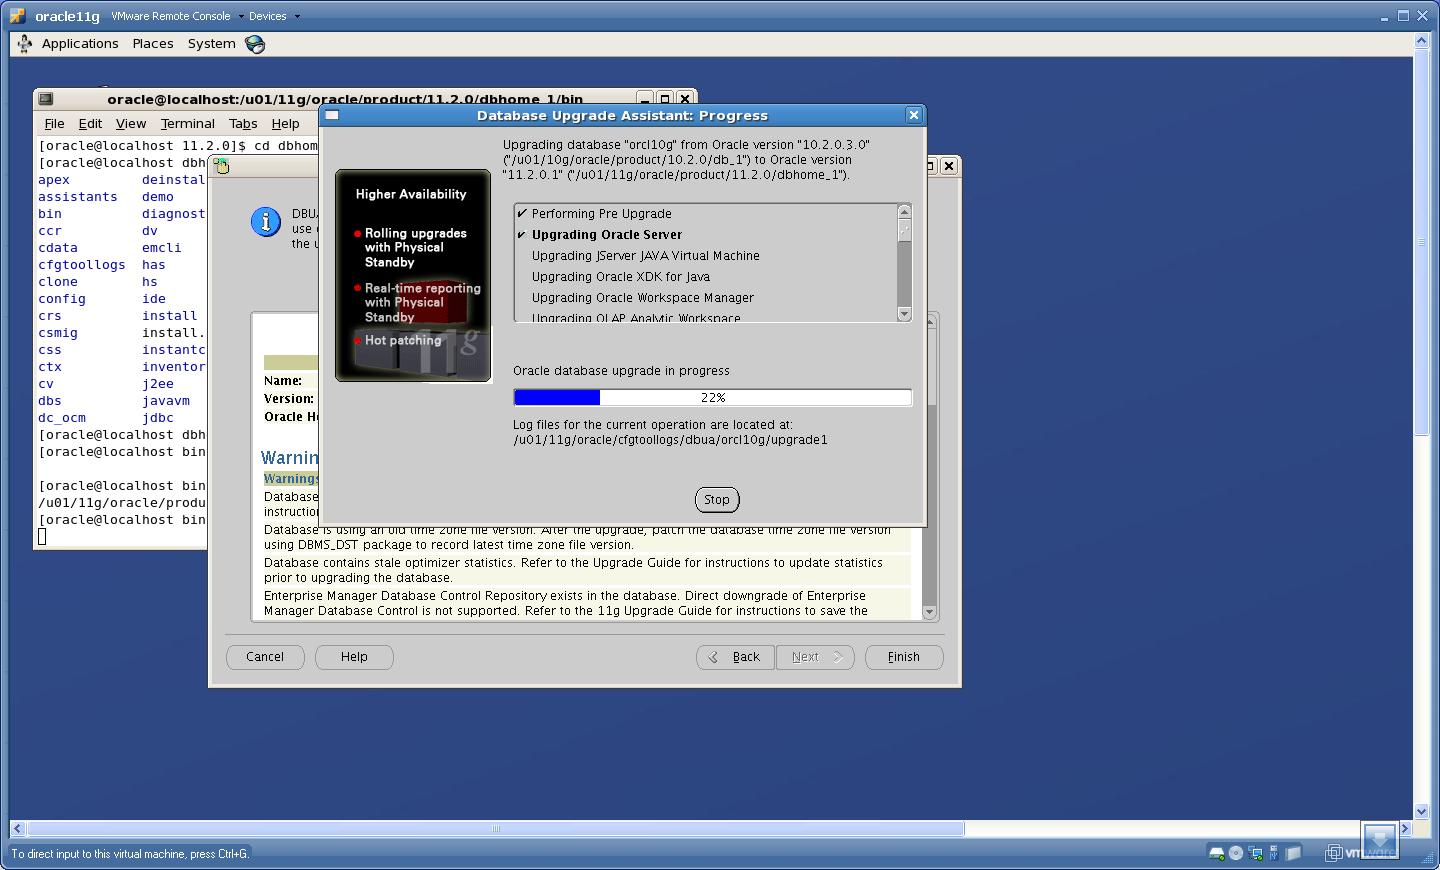
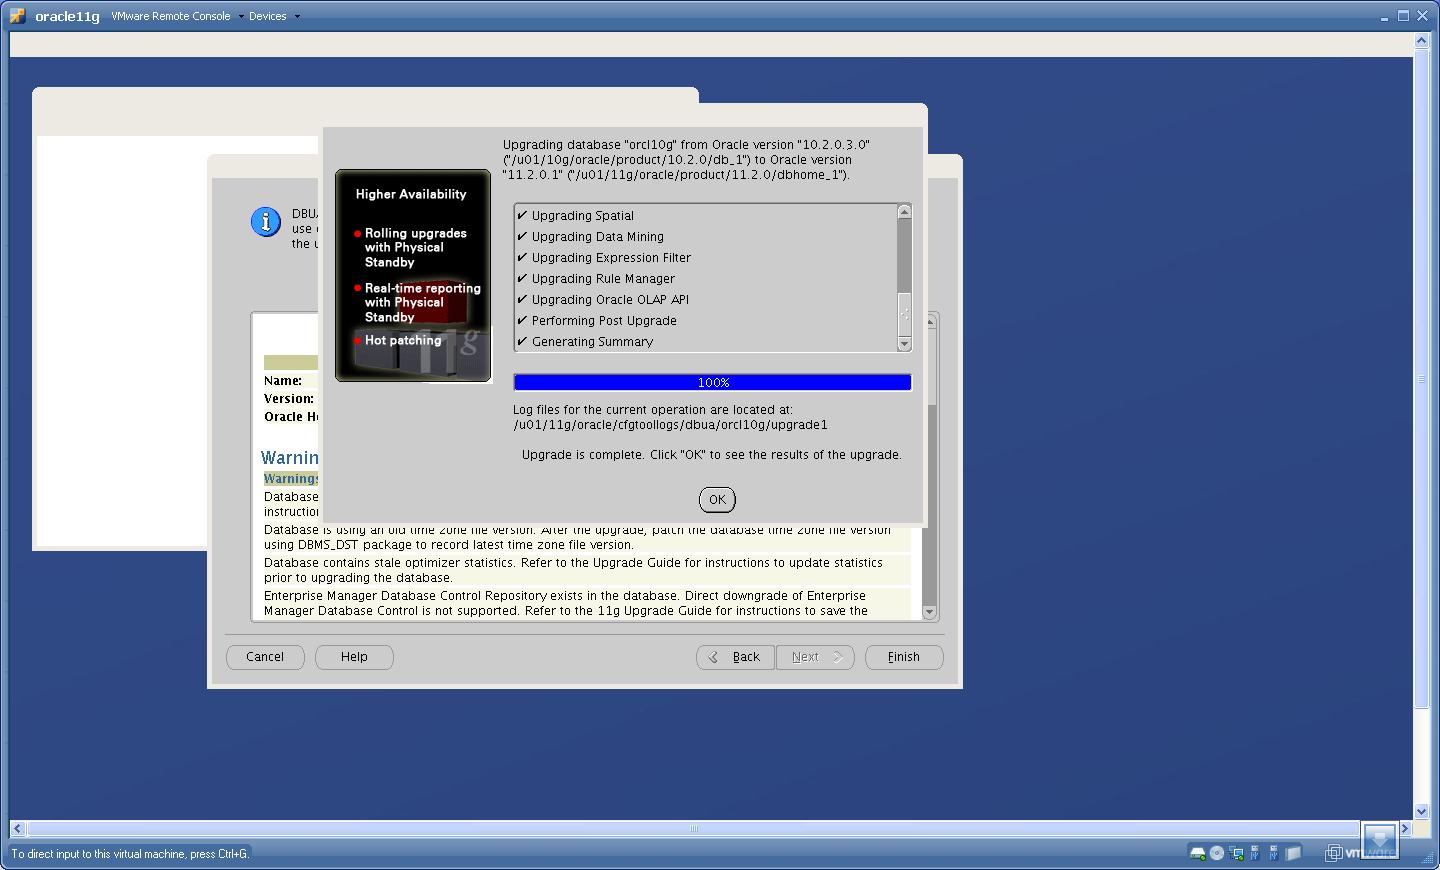
Check the Results
 Congratulations!!!!!!!!!! Upgrade is Successful !!!!!!!!!!!!!!!
Now you are ready to use Most Powerful Database!! 🙂


Recent Comments