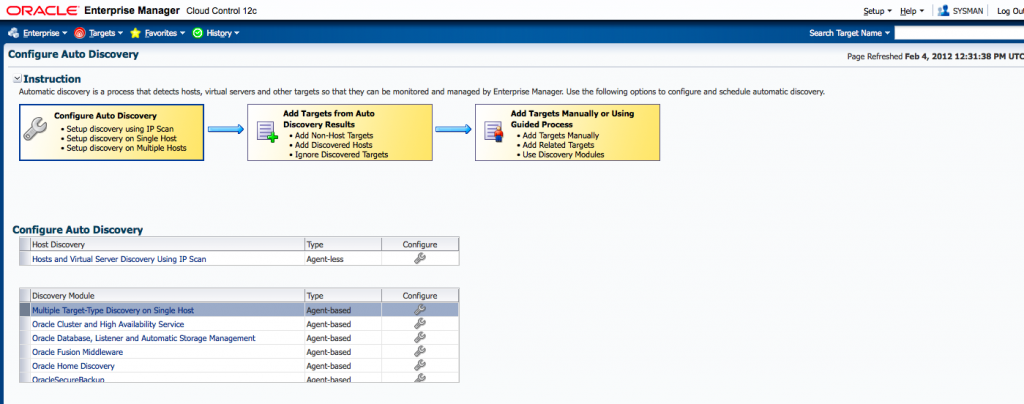
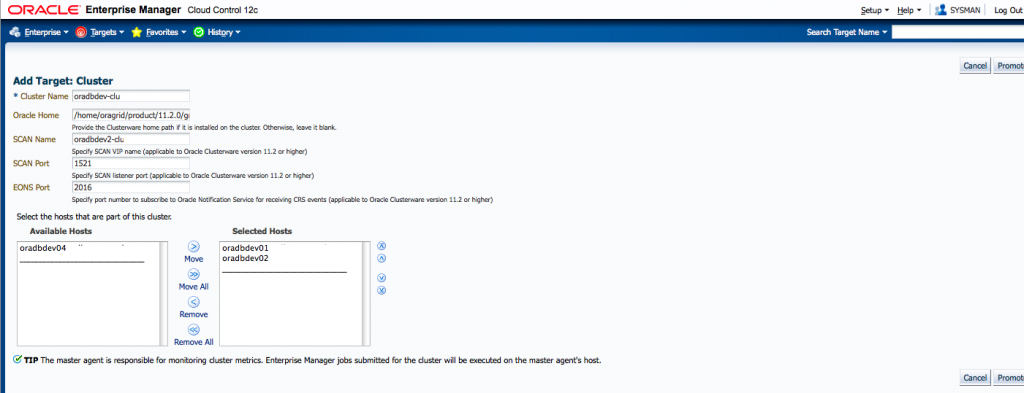
Oracle released 12.1.0.2 Enterprise Manager few days back and have released it for most of platforms.
You can directly upgrade Enterprise Manager Cloud Control 12c Release 1 (12.1.0.1) [with or without Bundle Patch 1] to 12.1.0.2
There are no pre patches required for this. But this upgrade requires considerable downtime. Oracle has termed this upgrade as 1-system upgrade approach which means that upgrades your Enterprise Manager Cloud Control on the same host—upgrades Oracle Management Service (OMS) on the same host and Oracle Management Repository (Management Repository) in the existing database.
I decided to upgrade my test EM 12c setup running on RHEL 5.6 x86_64 bit with single OMS and 11.2.0.3 database.Whole upgrade went fine without any major issues. To get started you need to download the software from here
I will be upgrading 12.1.0.1 running on Linux x86_64 bit. You can download the software from
http://download.oracle.com/otn/linux/oem/121020/em12cr2_linux64_disk1.zip
http://download.oracle.com/otn/linux/oem/121020/em12cr2_linux64_disk2.zip
http://download.oracle.com/otn/linux/oem/121020/em12cr2_linux64_disk3.zip
Once all files are downloaded, unzip them in single directory location.
To start the installation , run the runInstaller
./runInstaller
First screen asks for MOS details. You can choose to ignore it by unchecking box and click next.This will generate warning, press ok and click next
Next screen is related to software updates. You can “search for updates” and then select “My Oracle Support” to download the updates.We opted to “skip” this part.
On pre-requisite screen, installer checks whether your environment meets all the minimum requirements for a successful upgrade.
If some checks result in Warning or Failed status, then investigate and correct the problems before you proceed with the upgrade.
On the Installation Types screen, select Upgrade an Existing Enterprise Manager System, then select One System Upgrade. Then, select the OMS home you want to upgrade.
Next select the location for middleware home. 12.1.0.2 is out of place upgrade,so you need to specify new middleware home (without EM grid control) or a new home.
Next screen you pass connection details for EM repository.After you enter sys/sysman password it prompts you to stop oms
 Stop the OMS using emctl utility.
$OMS_HOME/bin/emctl stop oms
Oracle Enterprise Manager Cloud Control 12c Release 12.1.0.1.0
Copyright (c) 1996, 2011 Oracle Corporation. All rights reserved.
Stopping WebTier...
WebTier Successfully Stopped
Stopping Oracle Management Server...
Oracle Management Server Successfully Stopped
Oracle Management Server is Down
Once OMS is stopped, we press ok on message and again click Next.Installer complains for pre-requisite check for emkey .This can be corrected by copying emkey to database repository.
Syntax for this is
$/bin/emctl config emkey -copy_to_repos_from_file -repos_host-repos_port-repos_sid-repos_user[-repos_pwd] -emkey_file/sysman/config/emkey.ora
I have replaced this with actual values for my setup
[oracle@oradbdev04]~% /home/oracle/Middleware/oms/bin/emctl config emkey -copy_to_repos_from_file -repos_host oradbdev04 -repos_port 1521 -repos_sid em12c -repos_user sysman -repos_pwd oracle123 -emkey_file /home/oracle/Middleware/oms/sysman/config/emkey.ora
Oracle Enterprise Manager Cloud Control 12c Release 12.1.0.1.0
Copyright (c) 1996, 2011 Oracle Corporation.  All rights reserved.
Enter Admin User's Password :
The EMKey has been copied to the Management Repository. This operation will cause the EMKey to become unsecure.
After the required operation has been completed, secure the EMKey by running "emctl config emkey -remove_from_repos".
Next screen asks you to disable CBO gather stats job and set job_queue_processes to 0. You can press “Yes” and installer will automatically make changes for you.
We got next screen informing about some more pre-requisites which are not mandatory. We clicked ok and skipped them
On the Plug-In Upgrade screen, it will list plugins which are currently installed and new version post upgrade. Review them and click next
On the Plug-In Deployment screen, select the optional plug-ins you want to deploy in addition to the plug-ins that will automatically be upgraded while upgrading the OMS. ( I forgot to take screenshot of this page)
On the Extend WebLogic Server Domain screen , validate Adminserver details and enter WebLogic user account password.This is required to create a new WebLogic domain (GCDomain) on the same port and host name as the AdminServer used by the earlier release of the OMS you are upgrading.
We also need to enter new location for OMS instance base directory. As per oracle docs, it can be either inside or outside middleware home. Recommended approach is to keep it inside middleware home. We decided to use /home/oracle/product/middleware/gc_inst
You are next presented with summary screen and asked to click next
Next screen shows installation progress. This took nearly 1.5 hours.
Last step is to run $OMS_HOME/allroot.sh as root user
[root@oradbdev04 oms]# ./allroot.sh
Starting to execute allroot.sh .........
Starting to execute /home/oracle/product/middleware/oms/root.sh ......
 Running Oracle 11g root.sh script...
The following environment variables are set as:
 ORACLE_OWNER= oracle
 ORACLE_HOME= /home/oracle/product/middleware/oms
Enter the full pathname of the local bin directory: [/usr/local/bin]:
 The file "dbhome" already exists in /usr/local/bin. Overwrite it? (y/n)
 [n]:
 The file "oraenv" already exists in /usr/local/bin. Overwrite it? (y/n)
 [n]:
 The file "coraenv" already exists in /usr/local/bin. Overwrite it? (y/n)
 [n]:
Entries will be added to the /etc/oratab file as needed by
 Database Configuration Assistant when a database is created
 Finished running generic part of root.sh script.
 Now product-specific root actions will be performed.
 /etc exist
 /home/oracle/product/middleware/oms
 Finished execution of /home/oracle/product/middleware/oms/root.sh ......
Press ok on installer and we are finished with 12c installation.
Final screen lists down the url to access Enterprise manager grid control (12.1.0.2) and Weblogic Admin server.

Since one system upgrade only upgrades OMS and repository , we are still left with upgrading our central management agent.
1)Ensure that the Management Agents you want to upgrade are up and running.
2)Ensure that the Management Agents you want to upgrade are secure.
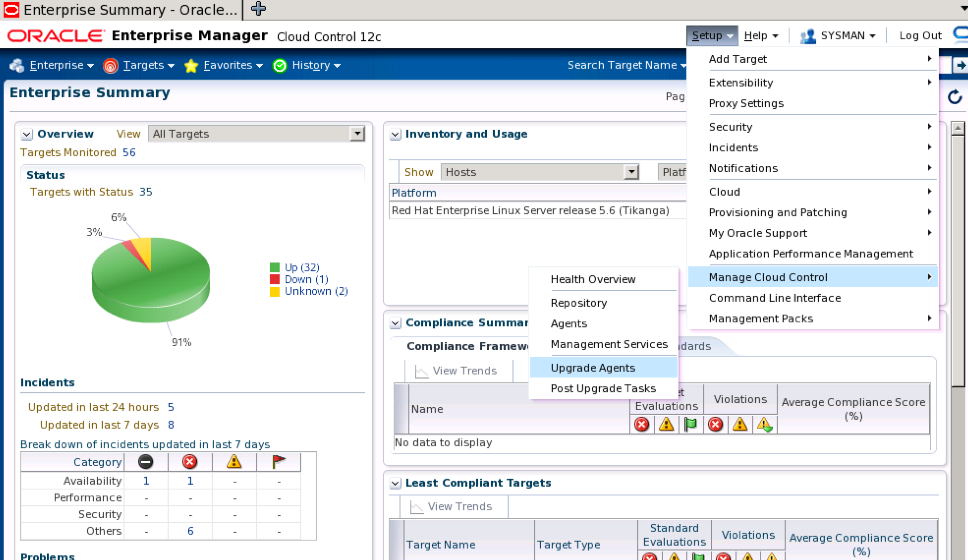
From the Setup menu, select Manage Cloud Control, then select Upgrade Agents. Click Add, select the Management Agents you want to upgrade, then click Select.
Select the Central management agent (which in this case is oradbdev04) and submit the job
Since we do not have root privileges, we have to run the $AGENT_BASE_DIR/core/12.1.0.2.0/root.sh script on the host after the upgrade.
You can monitor the agent install process
Note that oracle installs the agent in same base directory but creates new directory 12.1.0.2.0.
Before upgrade
/home/oracle/Middleware/agent/core/12.1.0.1.0
Post upgrade
/home/oracle/Middleware/agent/core/12.1.0.2.0
If you check agent status, you will find that oracle has automatically started the agent from new oracle home.
Run root.sh to complete the upgrade process
[root@oradbdev04 12.1.0.2.0]# ./root.sh
Finished product-specific root actions.
/etc exist
Finished product-specific root actions.
You can now upgrade the other management agent manually on the targets. Agent 12.1.0.1 is compatible with EMGC (12.1.0.2)
References
Oracle® Enterprise Manager Cloud Control Upgrade Guide12c Release 2 (12.1.0.2)


Recent Comments